Different Types of Heat Shrink Tunnels
Are you looking for a simpler and faster solution to package your irregularly shaped product? Want to enhance their visual appeal in a less expensive way? Or perhaps your warehouse is too small for bulky boxed products? If any of these sound like you, go for shrink wrap! So, how can you start with shrink wrapping? First off, go for the right tool—a heat shrink tunnel.
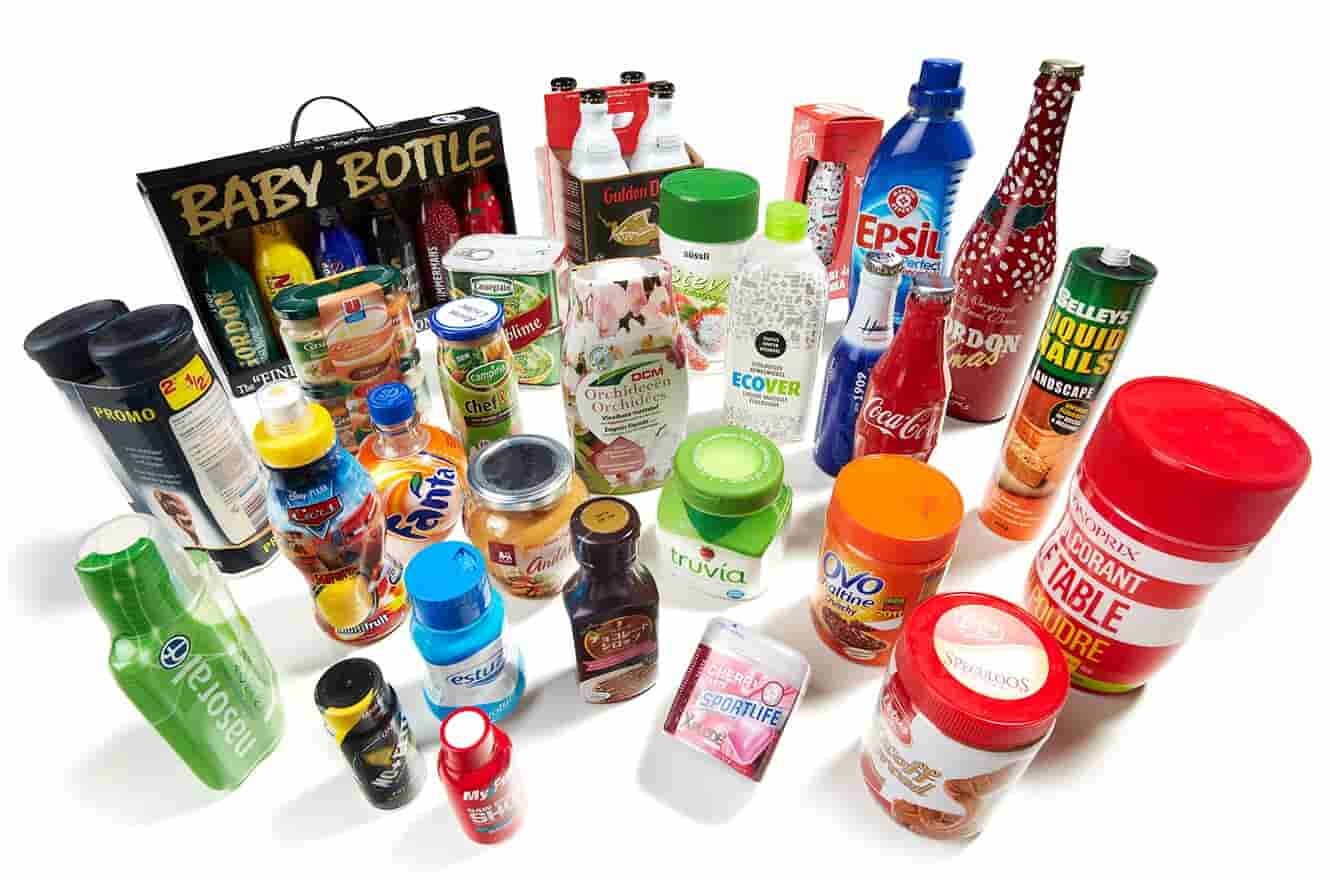
However, not all shrink tunnels are created equal. Some focus on energy efficiency or speed, while some are better for handling unique shapes. In this post, we'll compare the different types of heat shrink tunnels—laying out the pros, cons, and best uses—so you can find the perfect match for your packaging needs.
What Are Heat Shrink Tunnels, and How Do They Work?
A heat shrink tunnel is a device used to create snug-fit packaging. It applies heat to a plastic film, usually made of polyolefin, PVC, or polyethylene, causing it to tighten around the product. This tunnel is essentially a heated chamber. It's often fully or partially enclosed, depending on the machine's design. The equipment typically comes with a conveyor system to move the product through the heated section. Shrink tunnels can work alone or integrate seamlessly with other packaging machines.
Here's how a shrink tunnel works:
STEP 1: Set the temperature inside the tunnel for the specific type of shrink film being used.
STEP 2: Envelope the product loosely with the shrink film. This step can be done manually or with a wrapping machine.
STEP 3: Place the product on a conveyor belt. It can be done by an operator. If the tunnel is part of a packaging line, the product will go into the tunnel automatically (via the conveyor system).
STEP 4: The product enters the tunnel. The film on the product gets heated up and shrinks to create a snug fit.
STEP 5: The end product moves through and exits the heat tunnel. The shrink film on the product cools down. The product ends up with a tight and smooth packaging style.
3 Main Types of Heat Shrink Tunnels
Many shrink tunnels may look similar, but they actually function differently. In today's heat tunnel market, there are three main types used in packaging. Each type uses a unique heat source to shrink the packaging material around a product. And they come with individual advantages and limitations. Let's explore each one in detail.
1. Hot Air Shrink Tunnels
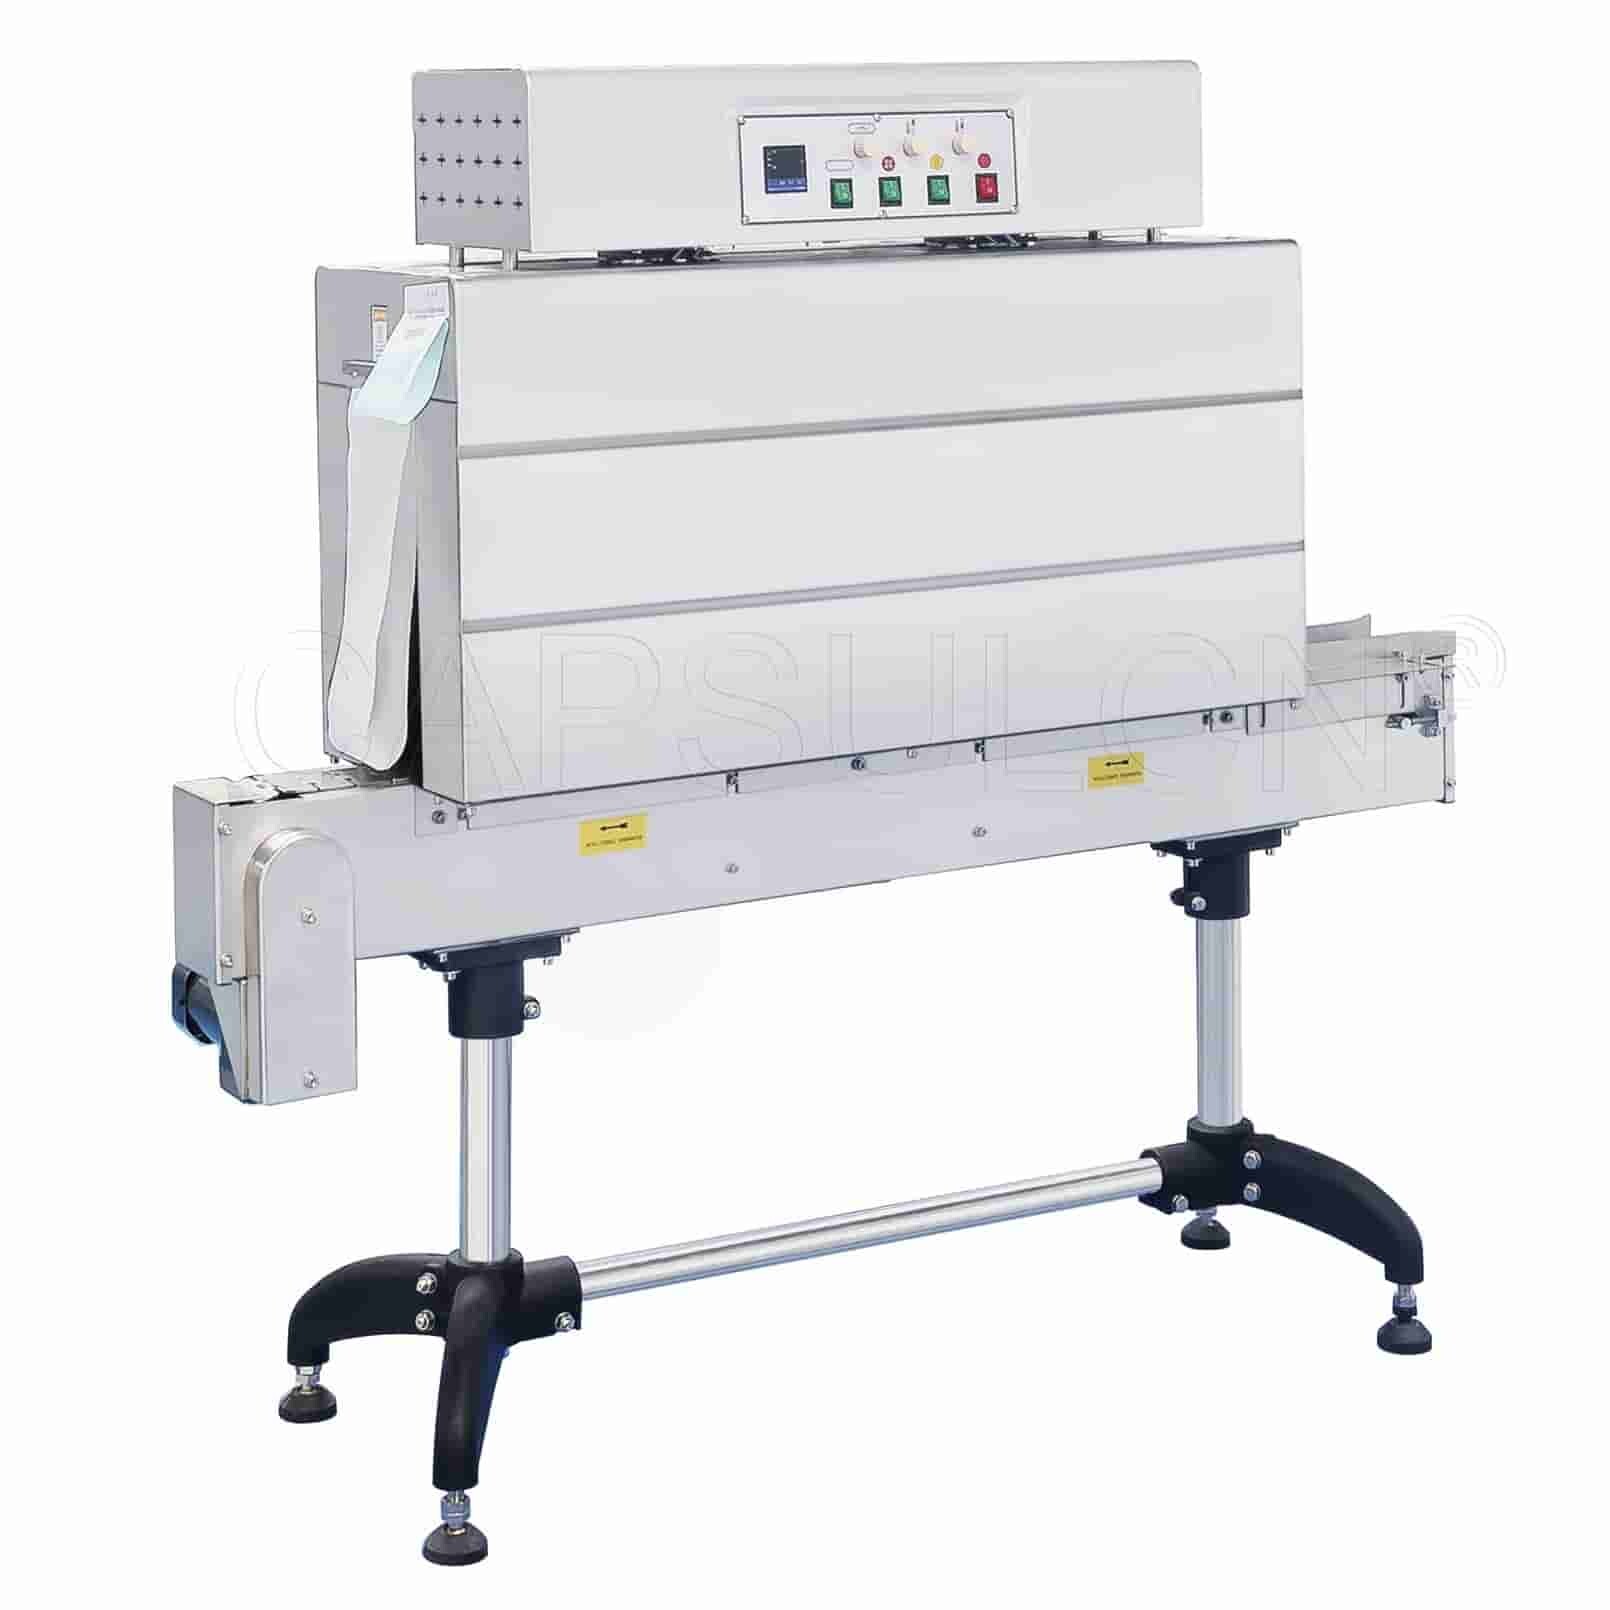
Hot air tunnels operate by blowing heated air onto the plastic film around the product. The hot air causes the film to shrink and form a snug and secure fit. Since this machine uses circulating hot air, it's also known as a convection shrink tunnel.
Pros:
- Adaptable to various packaging materials.
- Generally more affordable compared to other heat tunnels.
- Excellent for packaging products with complex areas like necks or grooves.
- Equipped with manifolds or baffles that can direct heat precisely.
Cons:
- Can be less energy-efficient for keeping blowing hot air.
- Take more time to heat the entire tunnel.
- Higher temperatures can lead to overheating or distortion.
- Not ideal for products that are sensitive to prolonged heat exposure.
2. Infrared Shrink Tunnels
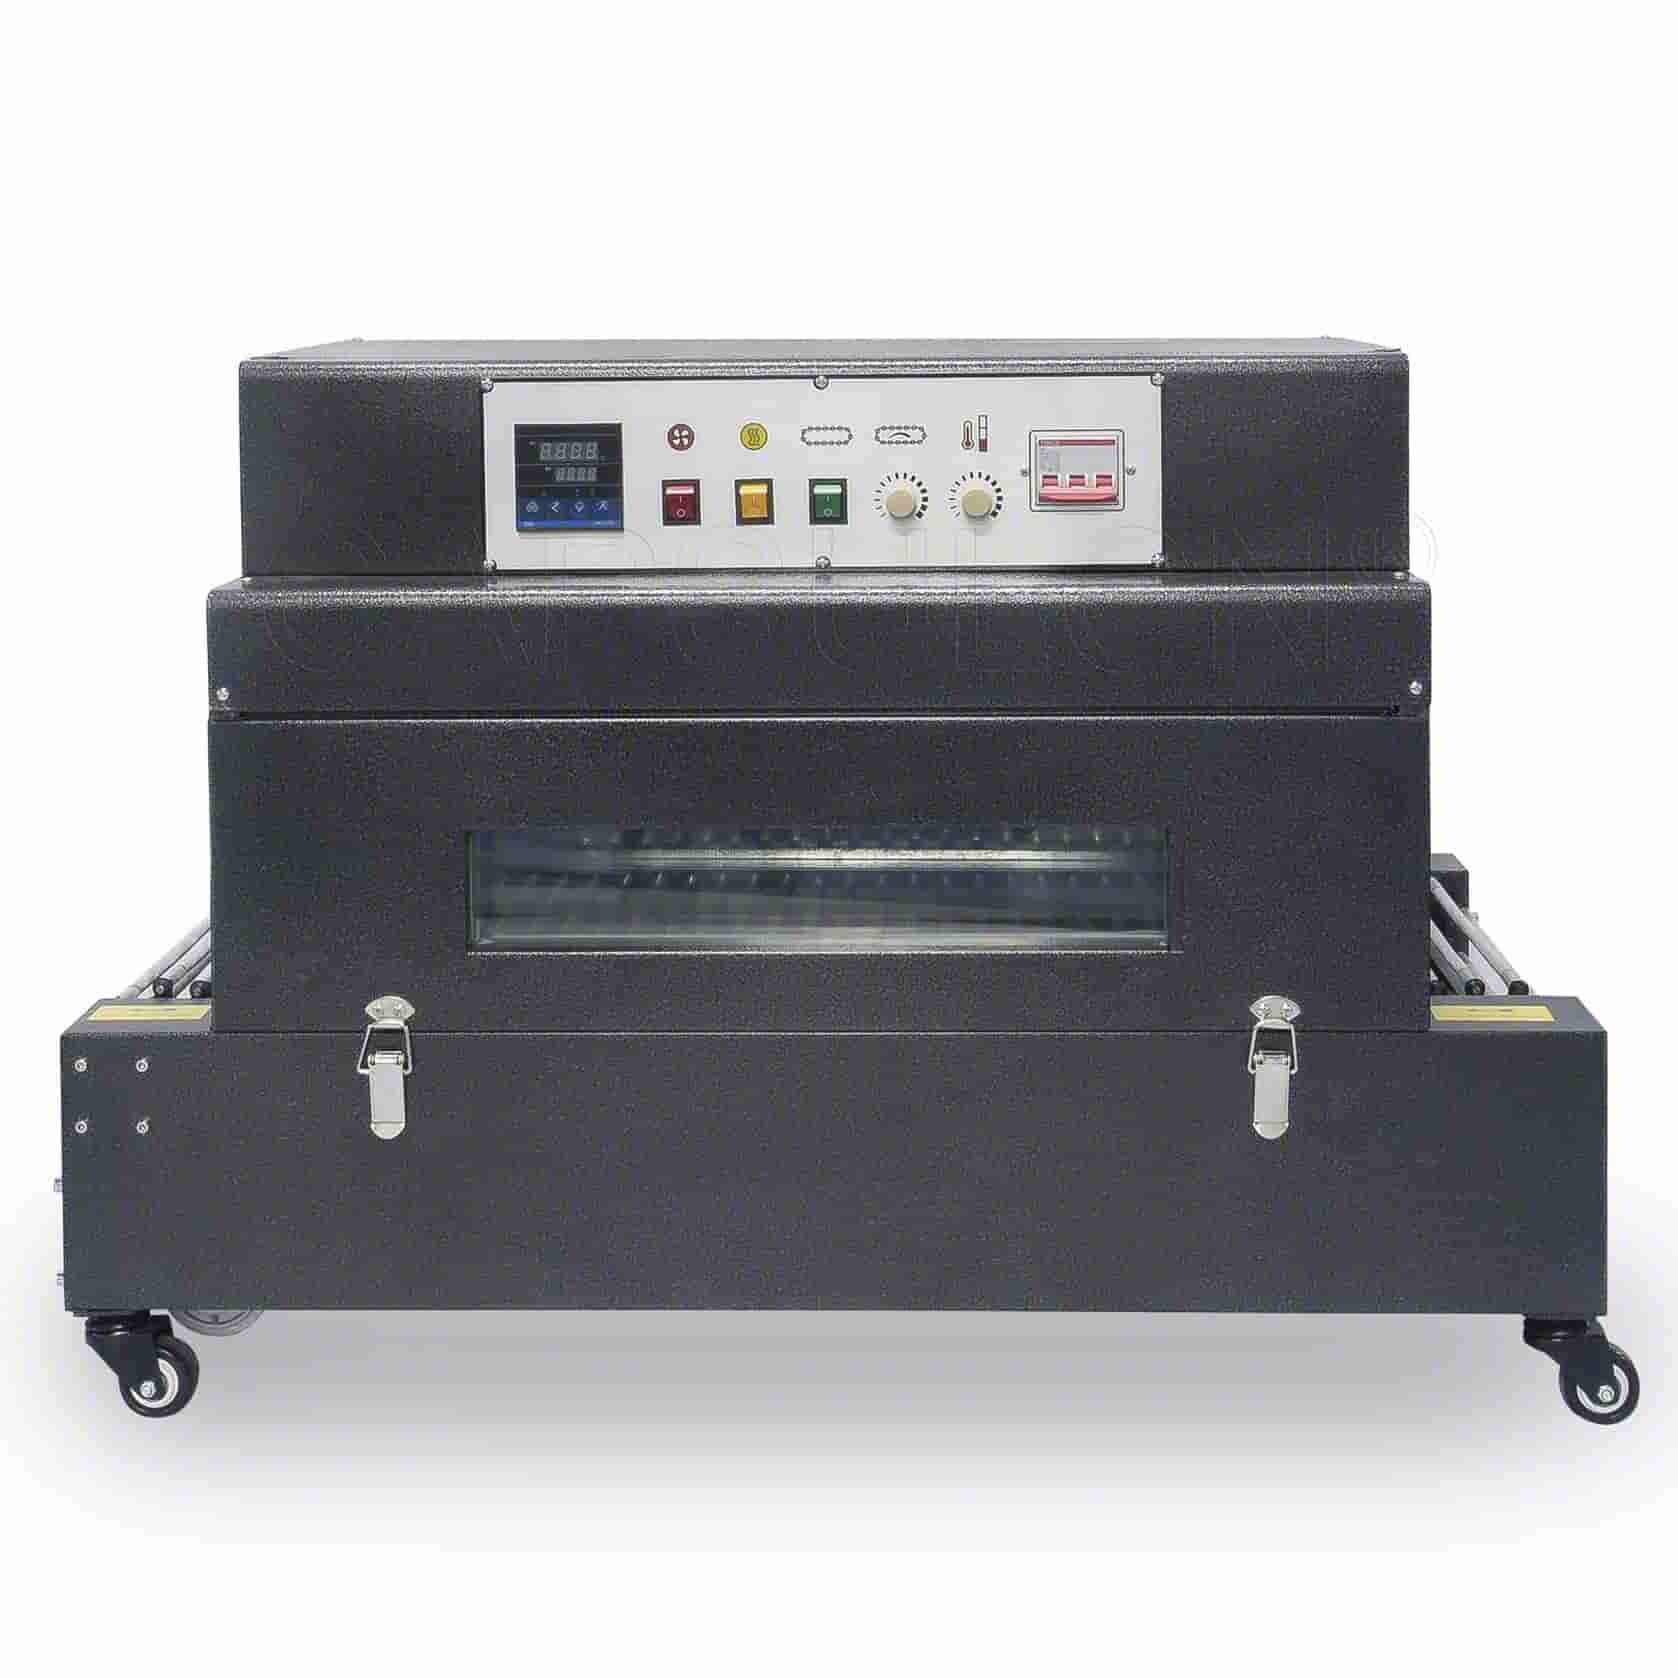
Infrared tunnels use radiant heat to shrink plastic sleeves or labels around products. These systems are typically fully enclosed and function like an oven to trap heat inside the chamber. Unlike hot air tunnels, they directly heat the shrink film without warming the surrounding air.
Pros:
- Direct heating reduces energy consumption.
- Capable of reaching high temperatures quickly, increasing packaging throughput.
- Ensure consistent heat with an enclosed chamber.
- Great for situations where a lower level of shrinkage is needed.
Cons:
- Not all shrink films absorb infrared energy equally.
- Infrared rays travel in straight lines, so the radiant heat cannot be directed to specific areas of products with irregular shapes.
- The high temperatures can cause uneven shrinkage.
- Can be more expensive for initial investment and maintenance.
3. Steam Shrink Tunnels
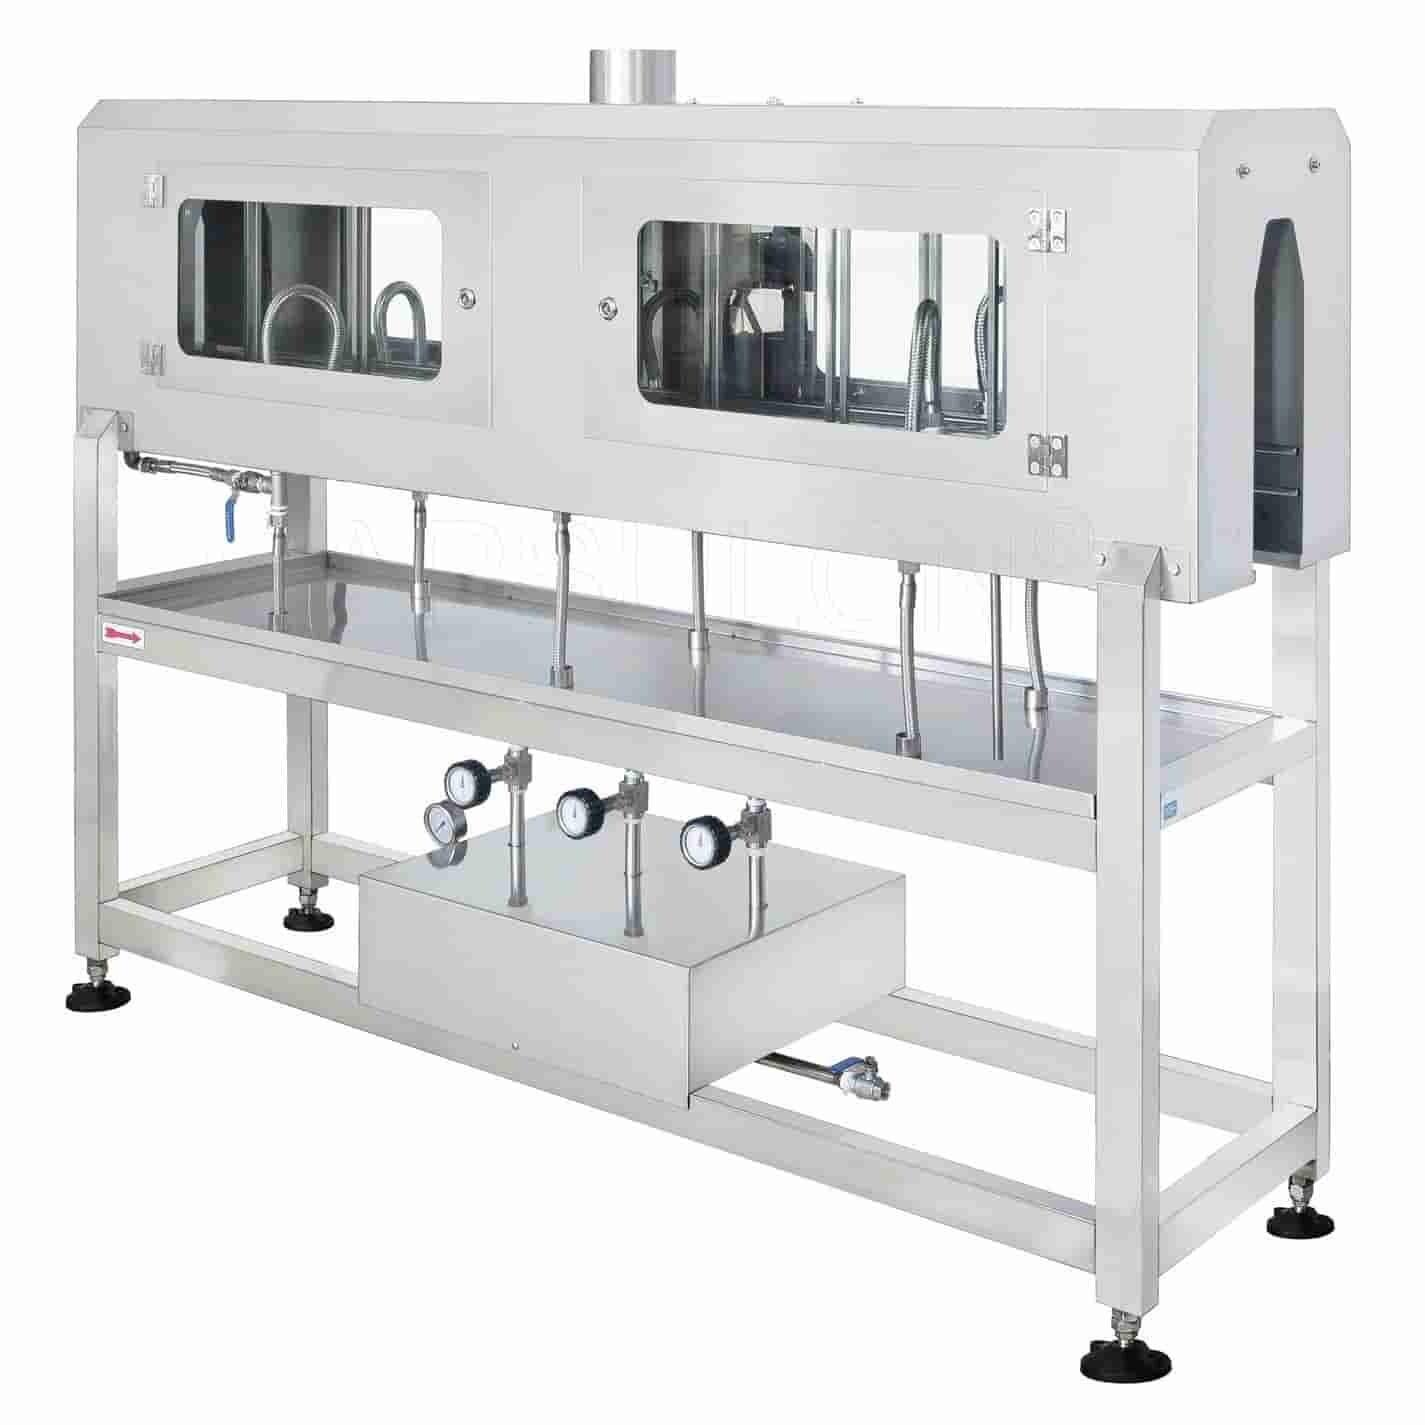
Steam tunnels employ steam to transfer heat to plastic films. The steam releases latent heat when condensing on the surface of the packaging material. The film shrinks as heat is evenly spread over its surface. This shrinking process is less harsh compared to other methods.
Pros:
- Work well with shrink sleeve labels and tamper-evident bands.
- Suitable for handling products with complex contours.
- Lower temperatures allow for dealing with heat-sensitive materials.
- A more controlled shrinking process with minimal damage to the product or film.
Cons:
- Require a continuous water supply and steam generator, making the setup more complex and expensive.
- May not be suitable for certain products or packaging materials due to adding moisture.
- Equipment may be more susceptible to corrosion due to exposure to moisture.
- Need more space for installation and regular maintenance.
Comparing Different Types of Heat Shrink Tunnels
Looking to choose the heat tunnel that best suits your needs? It's better to have a more nuanced understanding of the different types of heat shrink tunnels available. To save you time, we've created this chart to compare them side by side. Check it out!
|
Feature |
Hot Air Shrink Tunnel |
Infrared Shrink Tunnel |
Steam Shrink Tunnel |
|
Heat Source |
Hot air blown into the chamber |
Radiant heat that stays within the chamber |
Steam (hot water vapor) |
|
Heat Distribution |
Directional heat, can be focused on specific areas |
Heat is evenly distributed, but hard to direct |
Even heat distribution, gentle and uniform |
|
Temperature Efficiency |
Lower efficiency; requires higher temperatures to transfer heat |
Reaches high temperatures in a short time, but can result in uneven shrinkage |
More efficient heat transfer, lower operating temperatures |
|
Shrinkage Quality |
Can lead to uneven shrinkage, especially with complex shapes |
Risk of uneven shrinkage, especially at leading/trailing edges |
Excellent uniform shrinkage, less risk of distortion |
|
Ideal for |
Works well with intricate areas (e.g., bottles with necks or grooves) |
Preheating or low-shrink applications (e.g., tamper-evident seals) |
Tamper-evident packaging and general sleeve shrinking |
|
Setup and Installation Cost |
Relatively affordable and easy to set up |
High initial cost due to installation complexity |
Expensive setup, requires steam generator, piping, and drainage |
|
Operational Cost |
Lower operational costs compared to radiant or steam systems |
Higher due to energy consumption and maintenance |
Higher operational costs due to water and steam requirements |
|
Maintenance |
Moderate; occasional heating element replacement |
High due to the need for maintenance of infrared components |
High; needs regular cleaning of pipes, valves, and boiler system |
|
Speed |
Moderate to fast, depending on airflow and temperature settings |
Fast, suitable for high-speed production lines |
Moderate, relying on heat transfer and moisture absorption |
|
Versatility |
Highly versatile; works with many films and products |
Limited to certain applications (lower shrink percentages) |
Highly versatile for various shrink films and packaging types |
|
Best For |
General-purpose shrink wrapping of bottles, jars, etc. |
Preheating and low-shrink tamper-evident packaging |
Tamper-evident labels, shrink sleeves, and other sensitive packaging |
Tips for Getting the Best Shrinking Results
Here, we'd like to share some practical tips for the best results using different types of heat shrink tunnels:
1. Use the appropriate film thickness for your product. Thicker films may not shrink well in all heat tunnels.
2. Conduct a few tests to determine the optimal temperature and speed for both the product and film.
3. In the case of over-shrinking, lower the temperature or increase the conveyor speed. If under-shrinking occurs, increase the temperature or reduce the conveyor speed.
4. When using a hot air tunnel, preheat the chamber before feeding the product. Plus, balance the airflow inside the tunnel to ensure an even shrink.
5. Keep the product at the right distance from the heat source before entering an infrared shrink tunnel. This can prevent overheating or scorching.
6. Be sure to use clean steam to prevent contamination when using steam shrink tunnels. Monitor the humidity level within the tunnel to prevent the film and product from getting overly wet.
Wrapping It Up
The right equipment always makes a big difference. Whether you're seeking versatility, high efficiency, or affordability, the three types of heat shrink tunnels bring their own advantages. As a manufacturer of shrink tunnels with years of experience, we're here to help you navigate these options. If you need any guidance in selecting the perfect fit, feel free to reach out!
Leave your comment
Also Offers
Containment Automatic Capsule Filling Machine SFK-703
Fully Automatic Dosator Capsule Filling Machine CZ-40

Our Team
As an expert in the pharmaceutical and pharmaceutical packaging industry, iPharMachine has provided solutions for hundreds of pharmaceutical and health product manufacturers for 17 years. By visiting customers, we get good reviews from our customers.
- info@ipharmachine.com
- English Español Deutsche
