How to Sugar Coat Gummies: An Informative Guide
If you are a gummy aficionado, sugar-coated gummies are a can't-miss option. They are the faves of those with a sweet tooth as they taste sweeter than traditional gummies. Besides, these sweet treats look more visually appealing with a matte, glossy finish. The most fascinating thing is they also add a crunchy texture to your gummies.
Yet, how are these sugar-coated gummy candies made? Whether you're just curious about the manufacturing process or thinking about new product development, this guide will tell you everything about how to sugar coat gummies properly.
Things to Know Before Coating Gummies with Sugar
To be honest, it's not difficult to sugar coat gummies, but learning some insider tips will make the process much easier and more efficient. Here are a few things you need to know before you start to make sugar-coated gummies.
Benefits of Coating Gummies with Sugar
.jpg)
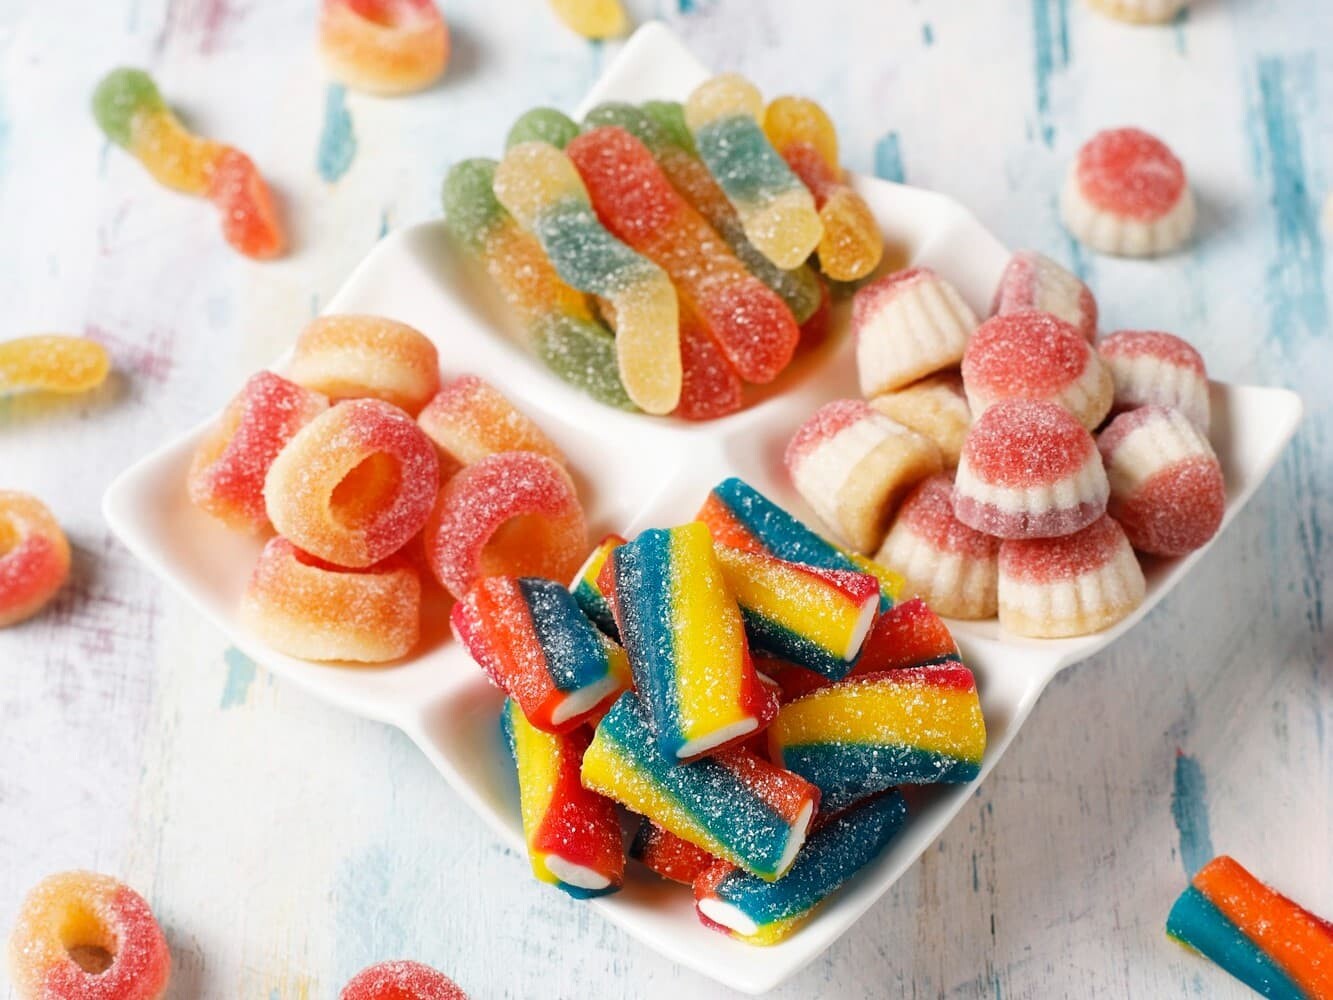
When you're looking to make your gummies more attractive, sugar coating can be a rewarding move. Let's see how you would benefit from this process.
1. Elevate visual appeal.
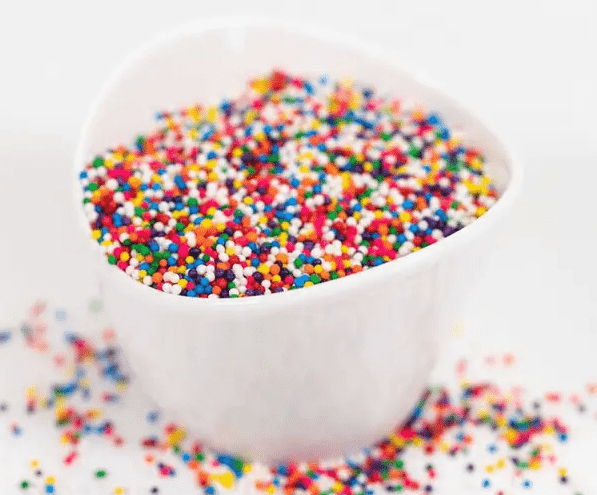
Many sugar types come in or can be made in different colors. This allows the sugar coating to add a vibrant, colorful touch to your gummies. Thanks to its crystalline nature, sugar can give traditional gummies a shiny or sparkling finish. These visual changes can definitely attract more consumers to try your gummies.
2. Enhance flavor and texture profiles.
In addition to the looks, sugar coating adds extra flavors to gummies. Not only does the coating make gummies taste sweeter, but it also delivers diverse taste experiences, such as sour or fruity. In terms of texture, coating with sugar is like dressing gummies up in a coat with a unique touch. The texture can be sandy, crunchy, or powdered, depending on the sugar you will use. The flavor and texture enhancement brings a more enjoyable mouthfeel.
3. Extend shelf life.
Coating your gummies with sugar is actually like placing a protective barrier on these candies. This barrier helps to control moisture to prevent gummies from getting damp or hardening. The sugar coating can extend the shelf life of the gummies.
4. Cater to preference.
If you're running a confection business, sugar-coated gummies can be one of the selling points for your brand. If you've done your homework, you will know there are quite a lot of gummy lovers who prefer vibrant colors, crave sugar, or seek a crispy mouthfeel. Coating gummy candies can cater to their preferences and make your offerings stand out in the market.
Types of Sugar Used to Coat Gummies
Commercial sugar is typically derived from two plants - sugar cane and sugar beets. When making gummies, sugar is not just a simple ingredient that sweetens them. It also comes in a variety of types to bring different textures and tastes to your gummies.
Here are some common types of sugar used to coat gummies. You can experiment with each to develop and create unique gummy products.
|
Sugar Type |
Granulated Sugar |
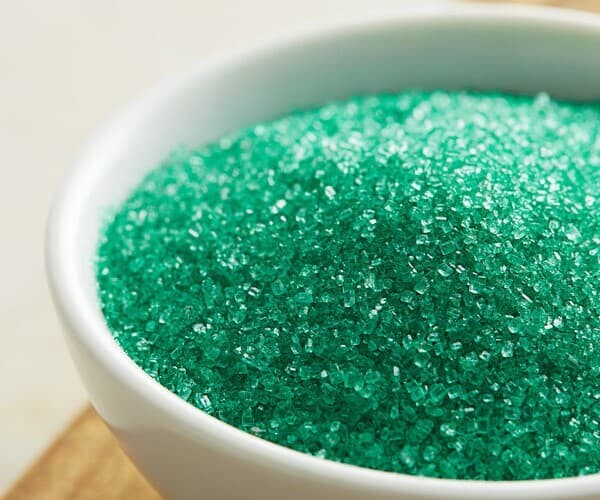
Sanding Sugar |
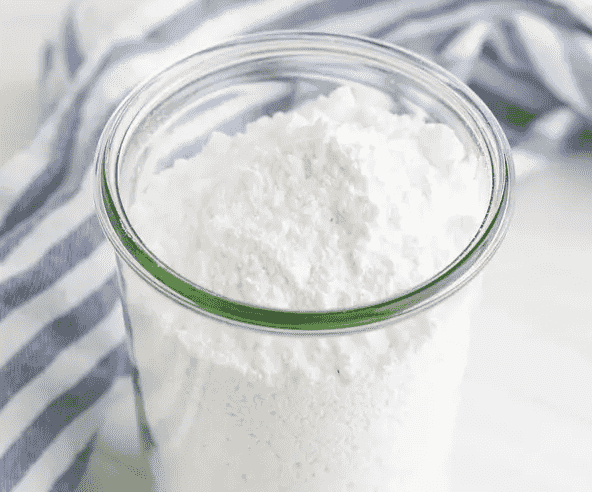
Powdered Sugar |
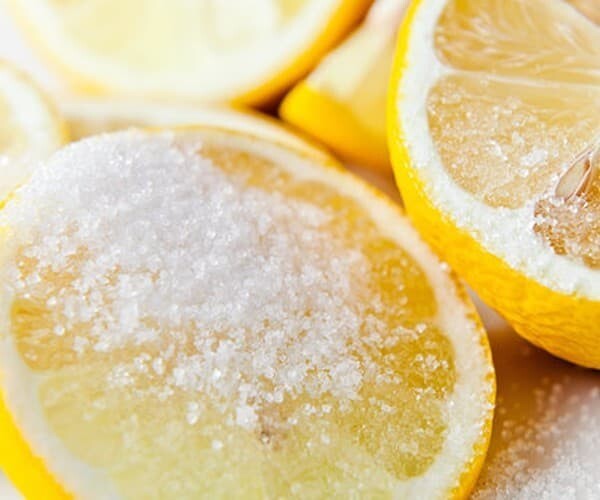
Sour Sugar |
Nonpareils |
|
|
|
|
|
|
|
|
Description |
A timeless option. Provides a sweet and crunchy coating. Can be colored for a vibrant appearance. |
Also known as decorating sugar. Larger crystal size than granulated sugar. Adds a sparkling touch. Available in various colors. |
Also known as confectioner's sugar. Finely ground. Creates a smooth, velvety coating. Dissolves easily, giving a soft, powdery texture. |
Infused with citric acid. Create a tangy twist for each bite. |
Tiny round sugar balls that add a fun and colorful look. Available in various colors. |
|
Texture |
Crunchy |
Sparkly |
Soft |
Crunchy |
Crunchy |
|
Appearance |
Sparkling, colorful |
Sparkling, colorful |
Smooth, powdery |
Sparkling, sour |
Colorful, textured |
|
Common Uses |
Coating gummies for a sweet and crunchy texture. |
Decorative coating for gummies with a delightful crunch. |
Dusting gummies or making a glaze. |
Adding a sour flavor to gummies. |
Decorative topping for gummies. |

The Ratio of Sugar to Gummies
It's essential to figure out how much sugar you need before knowing how to sugar coat gummies. Though the sugar coating imparts various colors and textures to gummies, it's typically categorized into only two flavors. These two flavors are generally from regular sugar and sour sugar.
So, the sugar ratio can vary slightly depending on the sugar types.
Regular sugar: Around 1 part gummies to 1 part sugar by weight.
Sour sugar: Typically 1 part gummies to 2 parts sugar by weight. As sour sugar is a sweet and sour mix, the higher sugar ratio balances the tangy taste in the sugar coating.
Of course, both sugar ratios can be adjusted based on the target consumers' preferences.
Equipment Used for Coating Gummies with Sugar
Gummies can be made at home and on a commercial scale. This determines there can be two settings to sugar coat gummies. The following are common sugar-coating equipment required in different scenarios.
Home Settings:
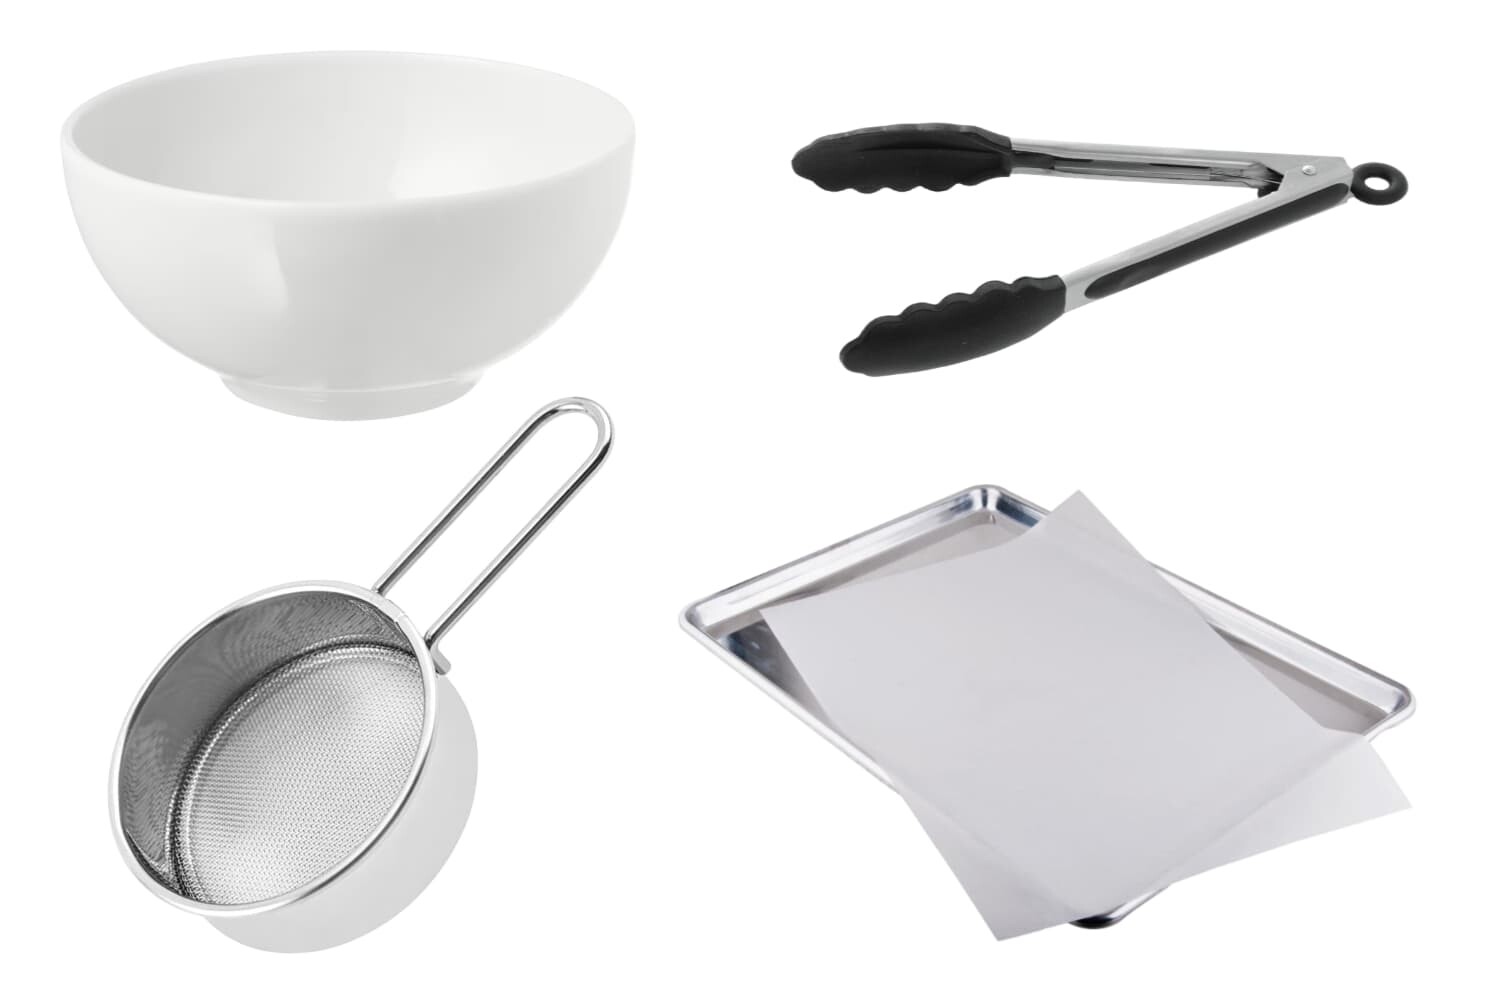
- Bowl: Holds sugar and allows gummies to be coated with sugar.
- Spoon or Tong: Used to transfer and sugar coat gummies in the bowl if you want to keep the gummies safe and clean.
- Sieve or Shaker: Tools for another coating method. Sprinkle or dust different types of sugar over the gummies.
- Baking Sheet and Parchment Paper: Used to place the sugar-coated gummies for curing and drying.
Industrial Settings:
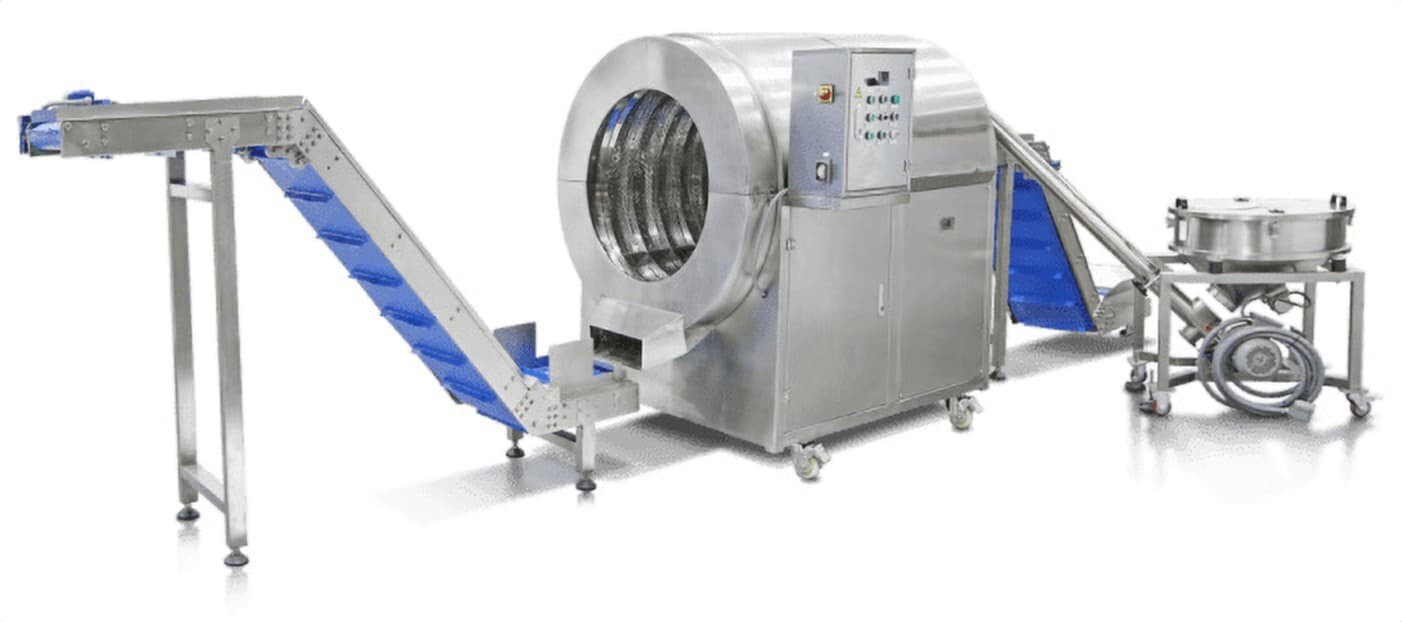
(Image Source: Gummy Tech)
- Conveyor System: Used to transfer the gummies smoothly through the sugar coating and drying process.
- Coating Drum or Tumbler: Typically, a large drum or tumbler. Used to coat gummies with sugar while spinning.
- Sprayer: Mounted in a coating drum or over the conveyor system. Used to apply sugar coatings, especially for sour sugar options.
- Drying Tunnel: A controlled environment for curing and drying the sugar-coated gummies.
How to Coat Gummies with Sugar (Home Settings)
STEP 1: Prepare the gummies to be coated with sugar.
You can coat your homemade gummies. Of course, you can also use ready-made gummies. Go grab some from grocery stores. Place the gummies on a tray.
STEP 2: Get the sugar ready.
Based on your preferences, you can use granulated sugar, sandy sugar, powdered sugar, sour sugar, or nonpareils. Pour the sugar into a bowl.
STEP 3: Sugar coat the gummies.
You can pick up a gummy and place it into the sugar bowl. Toss the gummy until it's evenly coated with sugar. Alternatively, you can place gummies into the bowl with a spoon or tong. Gently roll or toss them until each gummy has a sugar coating on the surface. The third method uses a sieve or shaker to dust sugar over the gummies.
STEP 4: Set coated gummies aside to cure and dry.
Once coated with sugar, transfer the gummies to a baking sheet with a clean parchment paper. Allow them to sit at room temperature for a few hours or overnight to cure and dry. This helps the sugar adhere to the gummies for a crunchy touch.
STEP 5: Store the gummies.
Once cured, store the sugar-coated gummies in a dry, cool place or an airtight container.
STEP 6: Clean all the tools.
Make sure all the tools used in the sugar coating process and your workbench are clean after you're done. Wash the bowl, spoon or tong, sieve or shaker, and baking sheet for next use.
How to Sugar Coat Gummies (Industrial Settings)
STEP 1: Prepare the gummies.
Prepare gummies for the sugar-coating process. If the gummies are freshly made, make sure they are cooled down and non-sticky.
STEP 2: Prepare the sugar.
Get your desired sugar types ready, depending on the gummy production needs.
STEP 3: Transfer the gummies.
Use a conveyor system to transfer the gummies into the coating process. A climbing belt conveyor might be required when you're using large equipment.
STEP 4: Start the coating process.
When powered on, the coating drum starts to rotate. Load the gummies and sprinkle sugar into the drum. The equipment tumbles the gummies to allow them to adhere to the sugar. The drum spinning speed and the coating duration can be adjusted based on specific needs.
Spray the sugar coating onto the gummies (if applicable).
If you're using a sprayable coating, a sprayer is required to apply the coating evenly to the tumbling gummies. The sprayer is typically installed inside the coating drum.
STEP 5: Cure and dry.
Once coated, all gummies are transferred manually or by the conveyor system from the coating drum to the drying tunnel. The drying tunnel allows the freshly coated gummies to cure and dry in a controlled environment. The temperature and airflow in the drying tunnel can be adjusted as required.
STEP 6: Store or package.
Once the sugar coating has cured, store the gummies in a dry, cool place. You can package them in proper containers, such as jars or pouches, to keep these gummies fresh and make them ready for sale.
STEP 7: Clean the equipment.
After the production run, clean the equipment to remove any leftover gummies or sugar residue and prepare for the next batch.
The Bottom Line
While coating is an optional process in gummy production, an extra layer of sweet flavor can make your gummies more appealing to a sweet tooth. Whether you're going to DIY creative gummies or thinking about expanding your gummy business through a new product, learning how to sugar coat gummies can be a valuable skill. Want to learn more facts and tips about gummy candies? Check out our other related blog posts!
- How to Make Gummy Bears: A Step-by-Step Guide
- Do Gummy Bears Expire? Chewy Treats and Their Shelf Life
- A Quick Guide to Different Types of Gummies
- 6 Questions to Answer Before Purchasing a Gummy Bear Machine
Leave your comment
Also Offers


Containment Automatic Capsule Filling Machine SFK-703

Fully Automatic Dosator Capsule Filling Machine CZ-40


Our Team
As an expert in the pharmaceutical and pharmaceutical packaging industry, iPharMachine has provided solutions for hundreds of pharmaceutical and health product manufacturers for 17 years. By visiting customers, we get good reviews from our customers.
- info@ipharmachine.com
- English Español Deutsche