Basic Liquid Filling Machine Troubleshooting Guide
Like any mechanical device, liquid filling machines sometimes act up. We all understand how frustrating it can be when these issues pop up out of the blue. Fortunately, there are effective troubleshooting techniques that can solve those machine headaches. If you're experiencing problems with your liquid filling machine, you're in the right spot.
In this article, we'll provide a few practical tips to help you get your liquid filling machine back on track. So, if you're ready to say goodbye to those unexpected breakdowns, keep reading!
7 Steps of Liquid Filling Machine Troubleshooting
To effectively troubleshoot liquid filling machine issues, it's essential to follow these seven steps:
STEP 1: Gather the necessary information
Before you begin liquid filling machine troubleshooting, it's important to collect relevant information. First of all, you must get familiar with the safety precautions and procedures to work on the equipment. These rules can guarantee the safety of both the machine and you during troubleshooting.
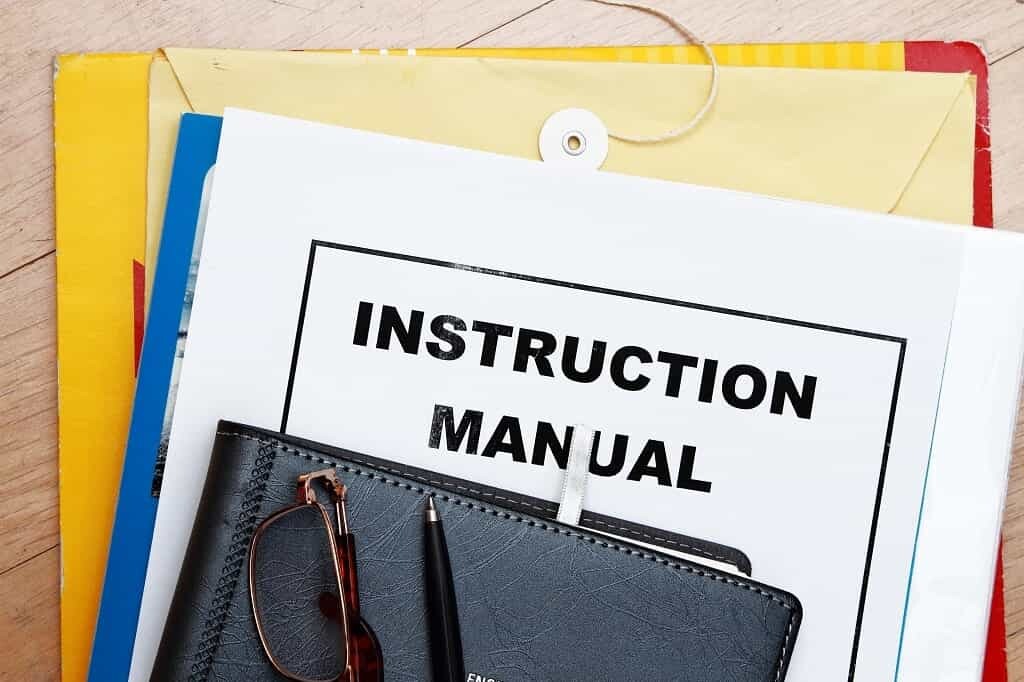
Secondly, gather information about the liquid filling machine. Thoroughly Reading the user manual and drawings of the machine helps you figure out how it should operate. The information also makes it easier to identify and analyze machine problems.
STEP 2: Define the problem area
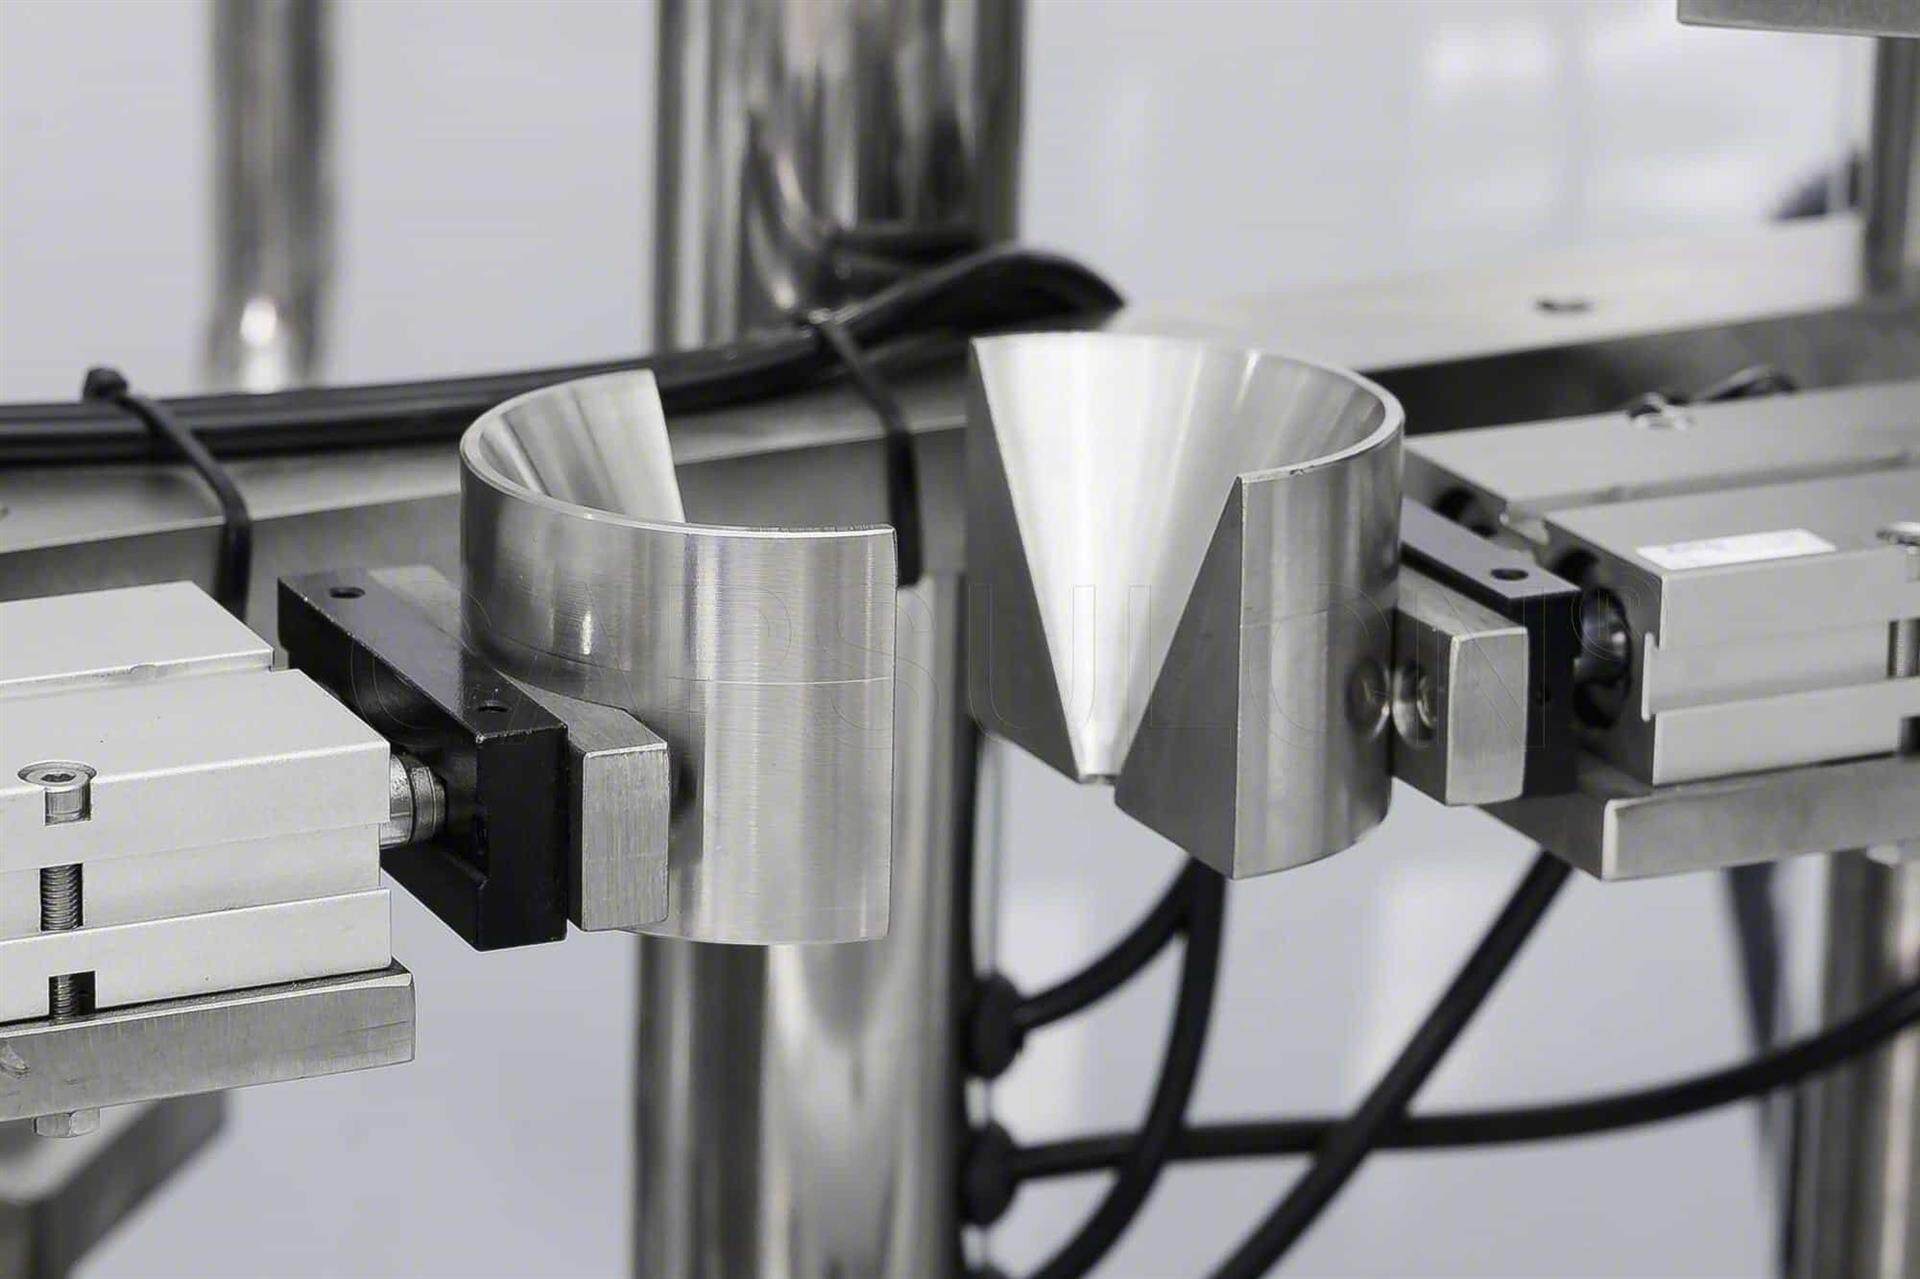
Identify the specific failure or malfunction using your senses. Observe your liquid filling machine to look for obvious mechanical faults, such as loose components, unplugged wires, worn parts, clogged nozzles, and beyond. Get a whiff of the machine to check for any burning smell, which tells your machine is overheating. Also, you can use hearing to detect problems. Listen to check which area of the equipment is making any weird noise.
STEP 3: Identify the possible cause
Based on the information you gathered in STEP 1, identify potential causes of the problem areas you discovered on the machine. Since the problem area may contain several components, inspect each and write down their potential faults and causes. Then, according to your observations in STEP 2, rule out those not likely to happen.
STEP 4: Create a plan of action

Develop a plan to address the problem based on your analysis in the previous steps. The plan should involve all the solutions to the issues with your liquid filling machine. These solutions include checks, adjustments, repairs, replacements, cleaning, maintenance, or seeking professional assistance.
STEP 5: Implement the plan
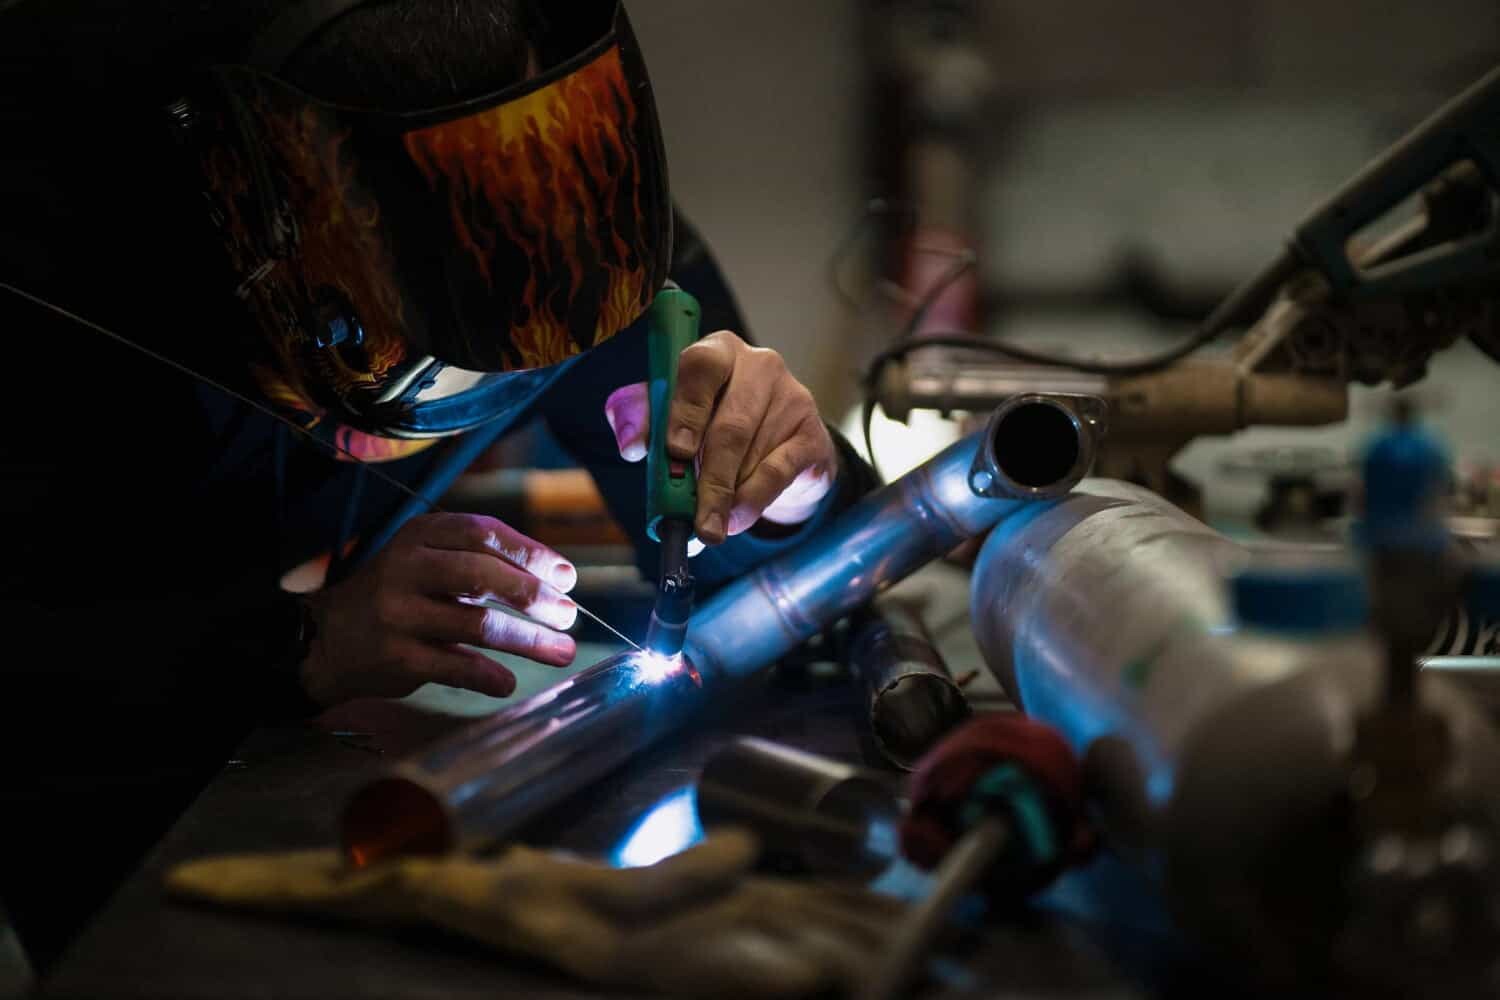
Once you've identified the problems and causes, carry out the liquid filling machine troubleshooting. Implement the planned actions such as checks, adjustments, repairs, replacements, cleaning, maintenance, or seeking professional assistance for your machine.
STEP 6: Test and verify
After implementing the solutions, you must test your liquid filling machine to see if all problems have been resolved. Perform a test run and ensure the machine is working properly. Additionally, monitor the machine's performance and pay attention to the indicators or alarms to verify if the machine functions correctly.
STEP 7: Document the solution

Be sure to document the liquid filling machine troubleshooting solutions. The records can serve as a future reference to help fix similar failures or malfunctions. Additionally, the documentation can be used to train new operators or technicians to troubleshoot similar problems.
Liquid Filling Machine Troubleshooting Techniques
Liquid filling machines are available in three types: manual, semi-automated, and fully automated. Since each type comes in unique configurations, the tips for troubleshooting issues with these machines can vary. Below, we will share some effective troubleshooting tips based on the different types of liquid filling machines. Let's take a look!
How to Troubleshoot Semi-automatic Liquid Filling Machines
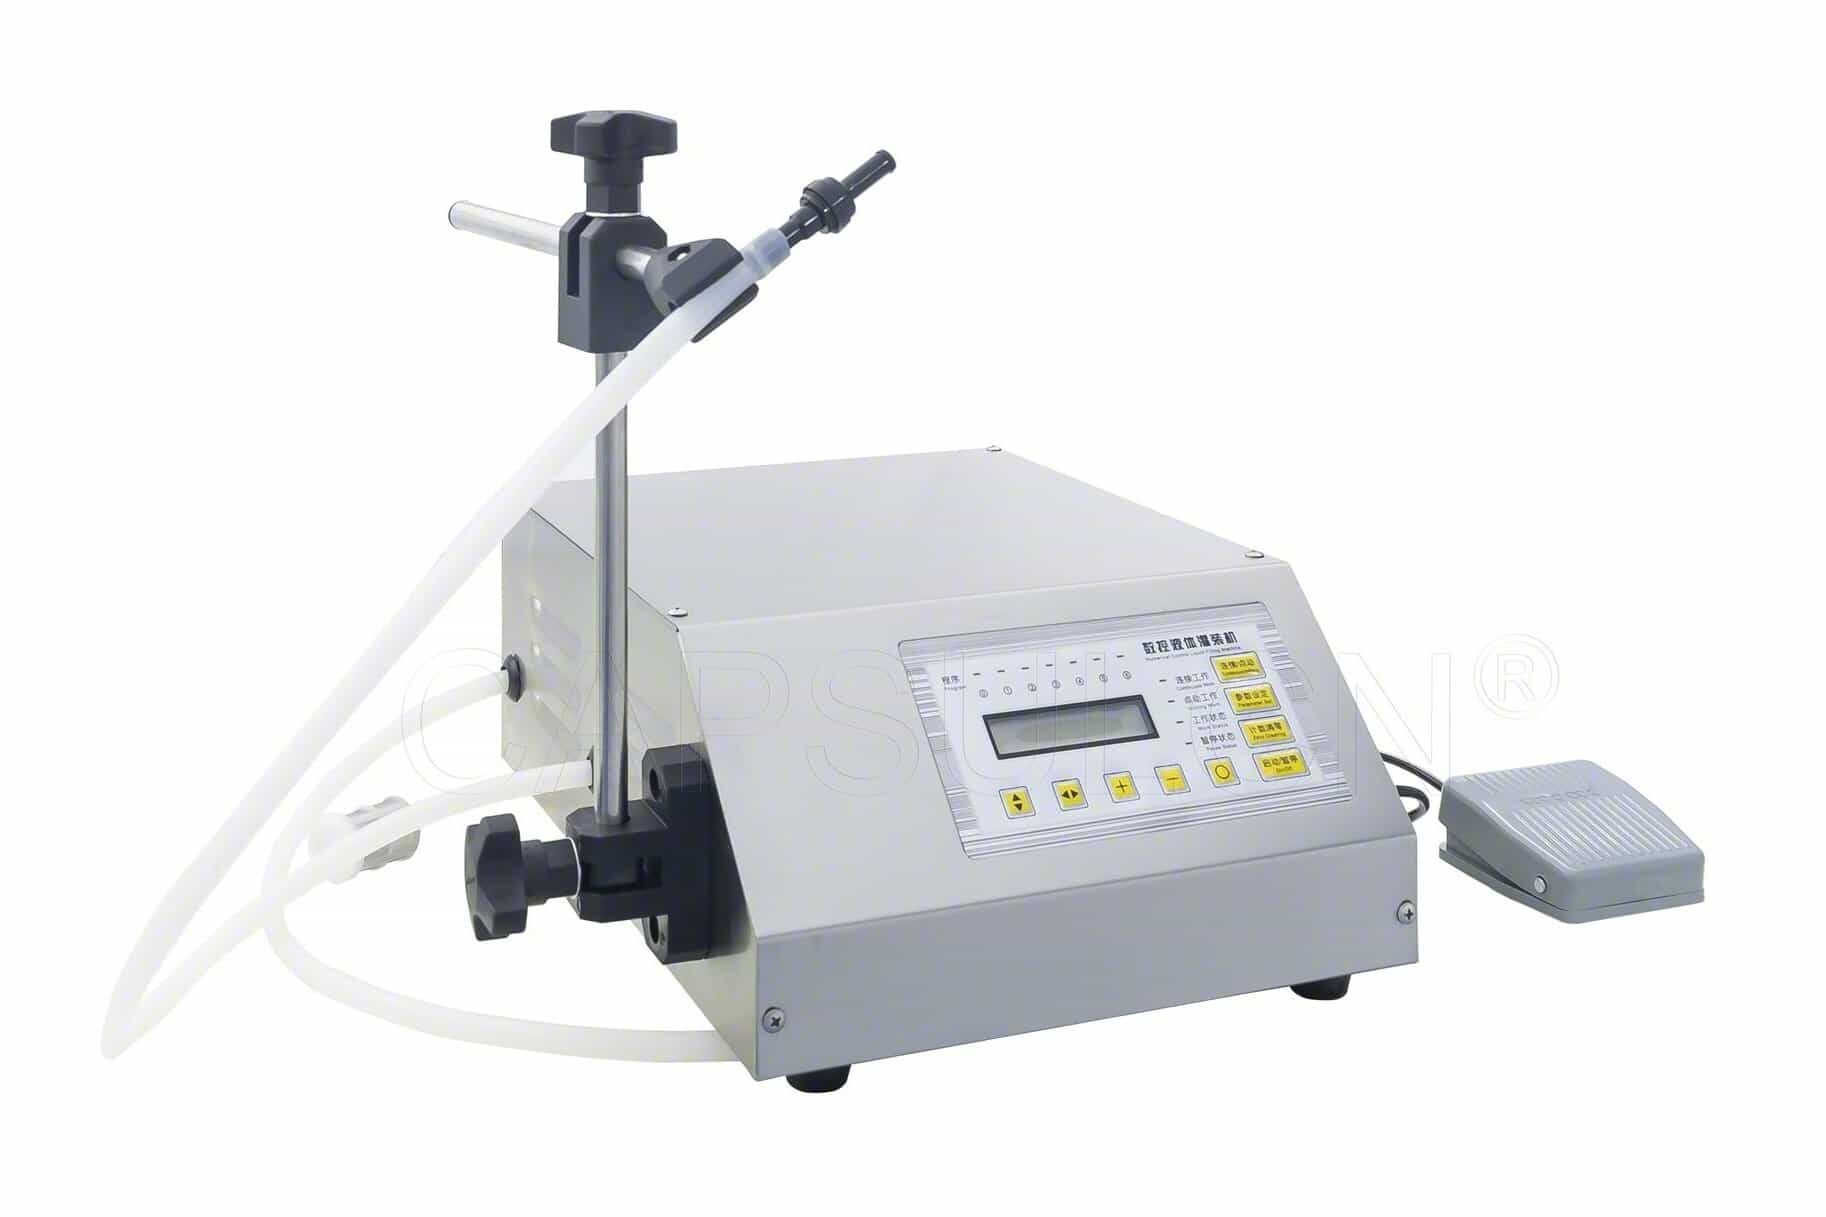
(iPharMachine GFK-160 Desktop Digital Liquid Filling Machine)
|
Problem |
Possible Cause |
Solution |
|
|
1 |
The power indicator is not on. |
1. The plug is not securely connected. |
Unplug the plug and plug it back in. |
|
|
|
2. Poor power switch contact. |
Reconnect the wire to the power switch. |
|
|
|
3. The switch is damaged. |
Replace the switch. |
|
|
|
4. The wire is broken. |
Check and repair the wiring. |
|
2 |
The filling volume is not accurate. |
1. The filter is clogged. |
Clean the filter. |
|
|
|
2. Impurities in the filling material. |
Remove the impurities before filling. |
|
|
|
3. The filling nozzle is clogged. |
Clean the filling nozzle. |
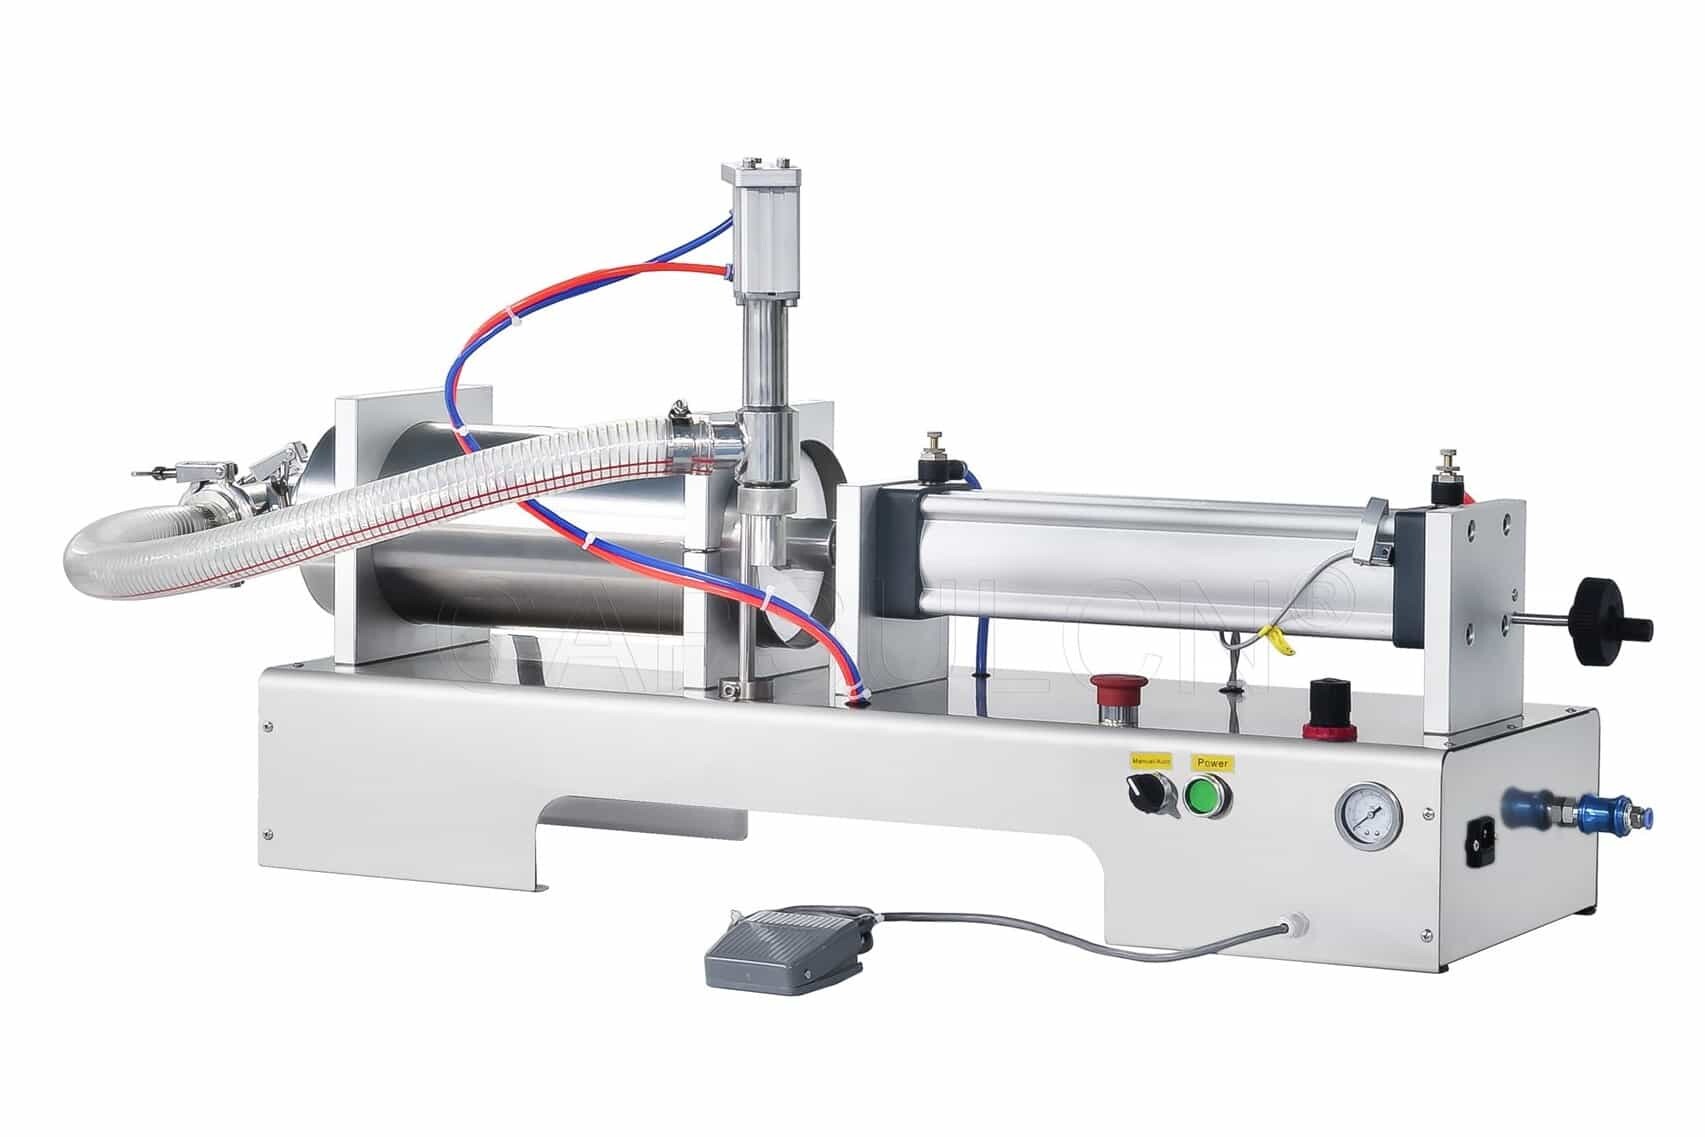
(iPharMachine C1WG Liquid Filling Machine)
|
Problem |
Possible Cause |
Solution |
|
|
1 |
Cylinder Not Working |
1. Check if the pressure gauge is working. |
Connect the air source. |
|
|
|
2. Check for the position of the fixed reed switch. |
Ensure the reed switch is placed at the rear of the cylinder. |
|
|
|
3. Check if the emergency stop button is pressed down. |
Twist to release the button. |
|
|
|
4. Check if the fuse is blown. |
Replace the blown fuse. |
|
|
|
5. Check if the piston is stuck. |
Reinstall the piston. |
|
|
|
6. Check if the O-ring on the piston becomes sticky. |
Replace the sticky o-ring. |
|
|
|
7. Check if the filling valve core is stuck. |
Reinstall the valve core. |
|
|
|
8. Check if the position of the moving reed switch exceeds the maximum filling volume. |
Adjust the position of the reed switch. |
|
2 |
Inconsistent Fills or No Fills |
1. Check if the moving reed switch is loose. |
Secure the front reed switch after adjusting the filling volume. |
|
|
|
2. Check if the throttle valves are closed. |
Ensure throttle valves are open. |
|
|
|
3. Check if the filling speed is too fast. |
Adjust the throttle value to decrease the speed. |
|
|
|
4. Check if the filling valve core is stuck. |
Reinstall the valve core. |
|
|
|
5. Check for all O-rings and sealing rings. |
Replace the damaged seals. |
|
|
|
6. Check for air leaks on all clamps, hose fittings, and air connections. |
Replace the damaged seals. |
|
|
|
7. Check if the reservoir is filled with sufficient filling material. |
Ensure consistent material storage in the reservoir. |
|
3 |
Piston's Failure to Retract |
1. Check for the position of the moving reed switch. |
Press the emergency stop button and adjust the position of the reed switch. |
|
4 |
Material Leaking |
1. Check if the O-ring on the piston is damaged. |
Replace the damaged O-ring. |
|
|
|
2. Check if the piston and the piston rod are securely fastened. |
Tighten them if loose. |
|
|
|
3. Check if the material cylinder is in the center of the cylinder bracket. |
Reinstall it. |
How to Troubleshoot Automatic Liquid Filling Machines
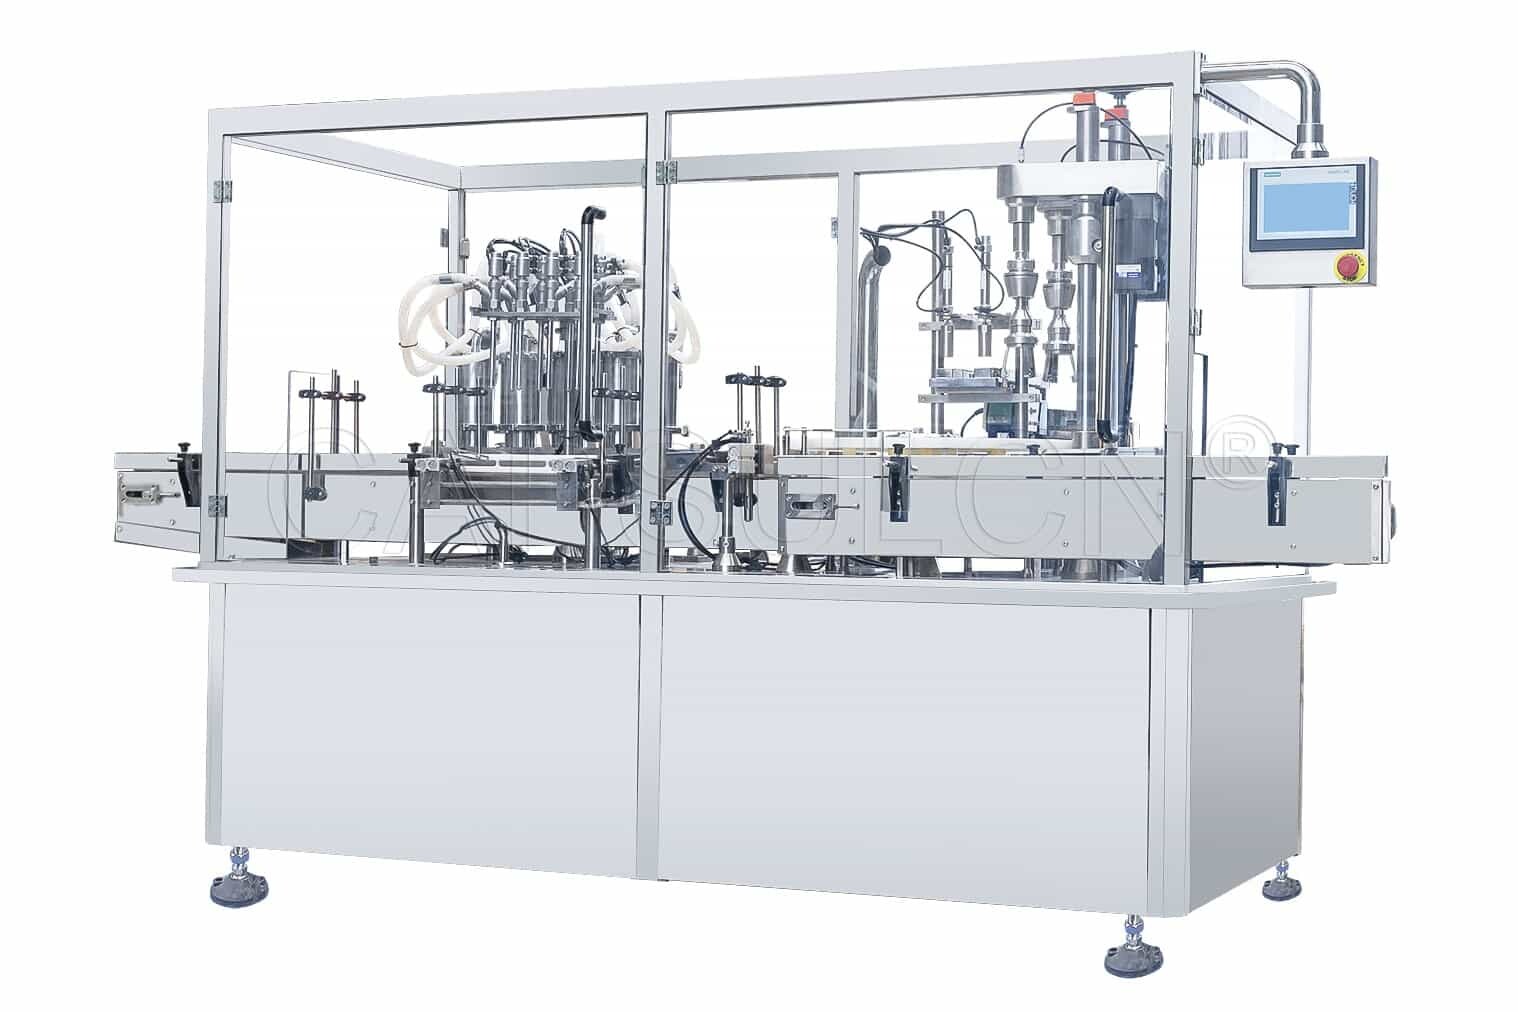
(iPharMachine CGS-8 Automatic Liquid Filling and Capping Machine)
|
Problem |
Possible Cause |
Solution |
|
|
1 |
Inconsistent Fills |
1. Inspect the peristaltic pump tube for aging. |
Replace the old tubing. |
|
2. Check if the peristaltic pump components are functioning correctly. |
Replace the damaged components. |
||
|
3. Check for the settings on the PLC touchscreen. |
Modify the settings. |
||
|
2 |
Filling Nozzle Misalignment |
1. Check for the spacing and height of the filling nozzle. |
Adjust the spacing and height. |
|
3 |
Bottle Transporting Issues |
1. Check for the spacing of bottle guide rails on the conveyor belt. |
Fine-tune the tension of the conveyor belt. |
|
4 |
Capping Failure |
1. Check if the cap gripper, bottleneck finish, and starwheel pocket are center aligned. |
Adjust the position of the cap gripper, bottle, or starwheel. |
|
2. Check if the cylinder is working properly. |
Repair or replace the cylinder. |
||
|
5 |
Screwed Caps Not Tight |
1. Check if the capper is center-aligned with the starwheel pocket. |
Adjust the capper torque and ensure alignment. |
7 Essential Preventive Maintenance Tips For Liquid Filling Machines
If you're looking to keep your liquid filling equipment in tip-top shape, apart from the above troubleshooting techniques, learning how to maintain your machine is also critical. Here are some useful preventive maintenance tips we want to share with you.
1. Keep an eye on the environment
- Ensure your liquid filling machine operates in a controlled environment.
- Keep it away from slopes, extreme heat, and humidity.
2. Inspect before use
- Check for the power supply and ensure all power cords are not damaged.
- Use proper grounding methods to ensure electrical safety.
- Inspect and ensure all parts and components function correctly.
- Perform a test run to determine if the machine is ready to work.
3. Clean after use
- Clean the machine's exterior and work surfaces after each shift.
- Ensure no liquids are left in the tank or hopper and no clogged nozzles.
4. Use appropriate tools
- Use a dry, soft cloth and mild detergent during cleaning and maintenance.
- Avoid using sharp tools on machine surfaces.
5. Perform proper lubrication
- Apply proper oils or lubricants to all moving parts and components.
- Grease the cam grooves regularly.
- Ensure all dynamic O-rings and seals are well-lubricated.
6. Clean on a regular basis
- Use compressed air to remove dust buildups in hard-to-reach areas.
- Clean the stained machine frame with alcohol.
- Disassemble parts or components that come into contact with materials.
- Run the machine with warm water and allow it to travel through and clean the filling tubing.
7. Perform periodic maintenance
- Inspect the machine's exterior and all work surfaces.
- Check for loose components and tighten them promptly.
- Inspect vulnerable components and address any faults or damages to get them repaired or replaced right away.
Conclusion
To make your equipment stay in peak conditions, understanding liquid filling machine troubleshooting and maintenance techniques is very important. When training your employees on operating skills, never skip educating them on this useful information.
Leave your comment
Also Offers
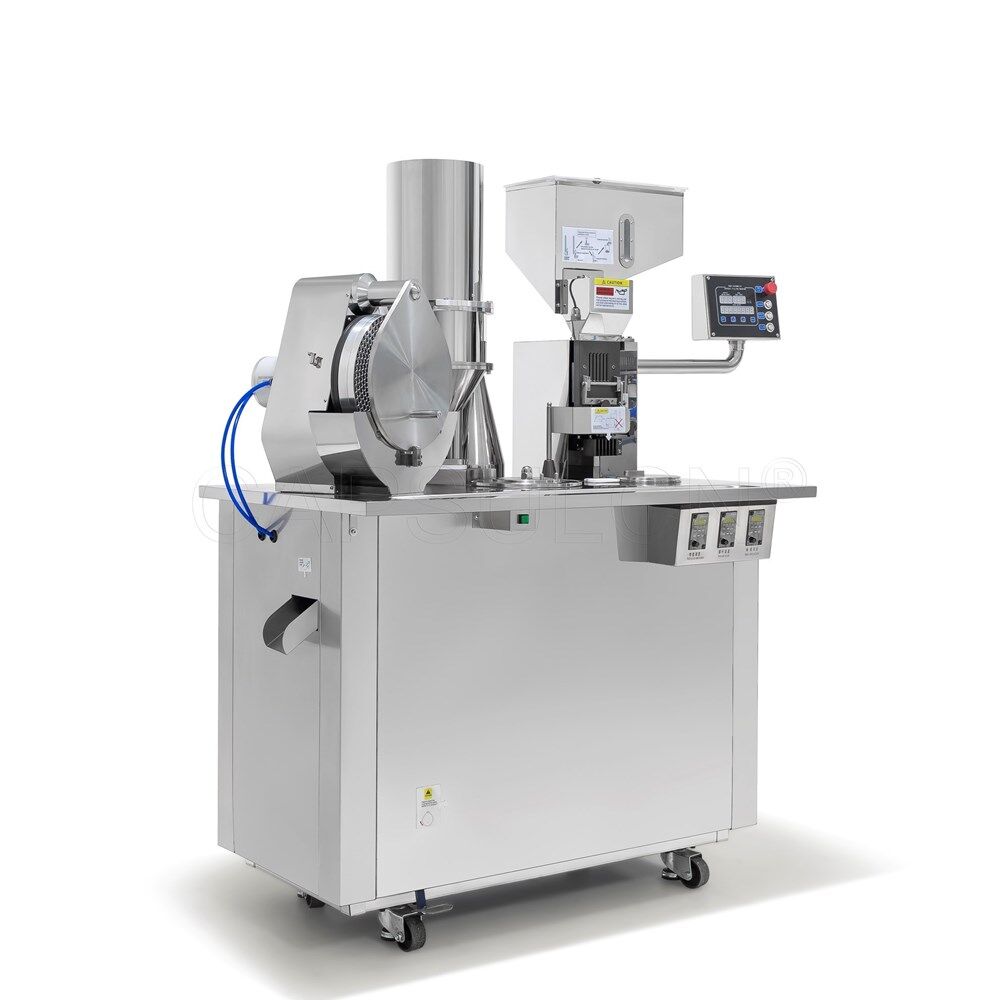
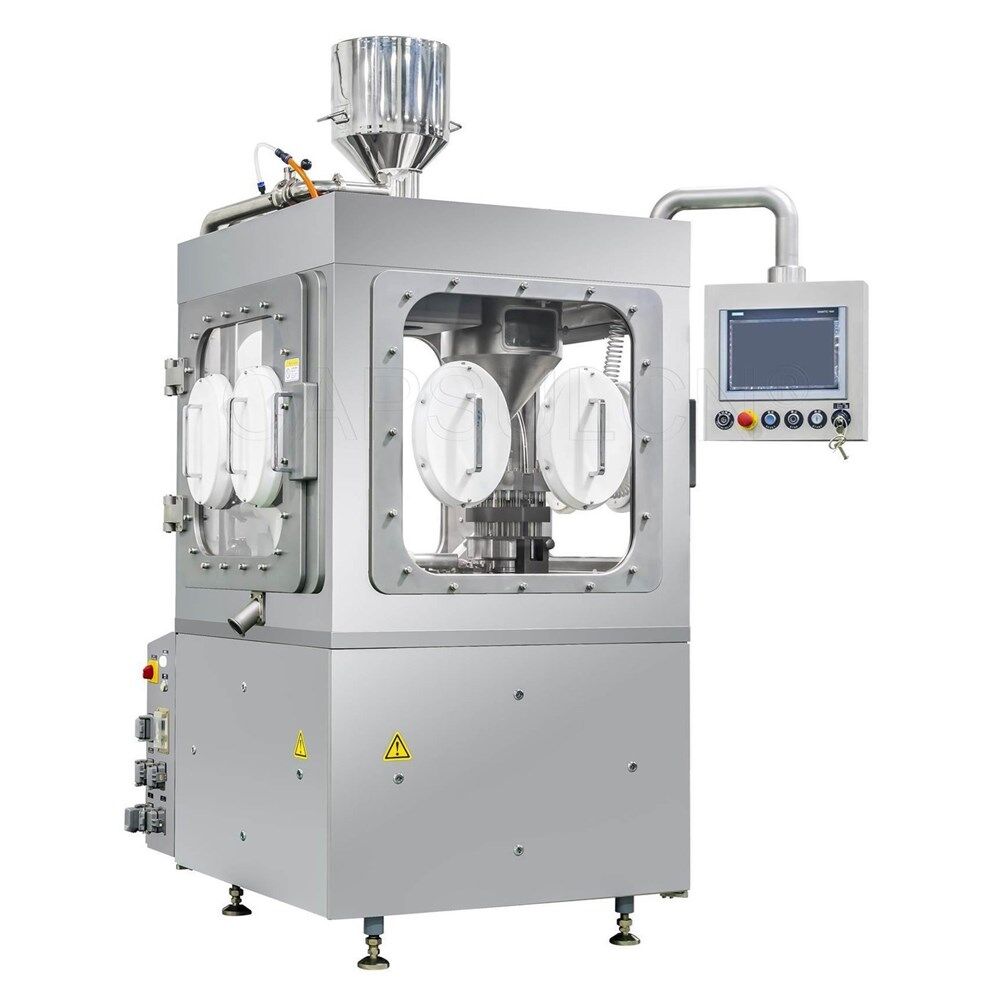
Containment Automatic Capsule Filling Machine SFK-703
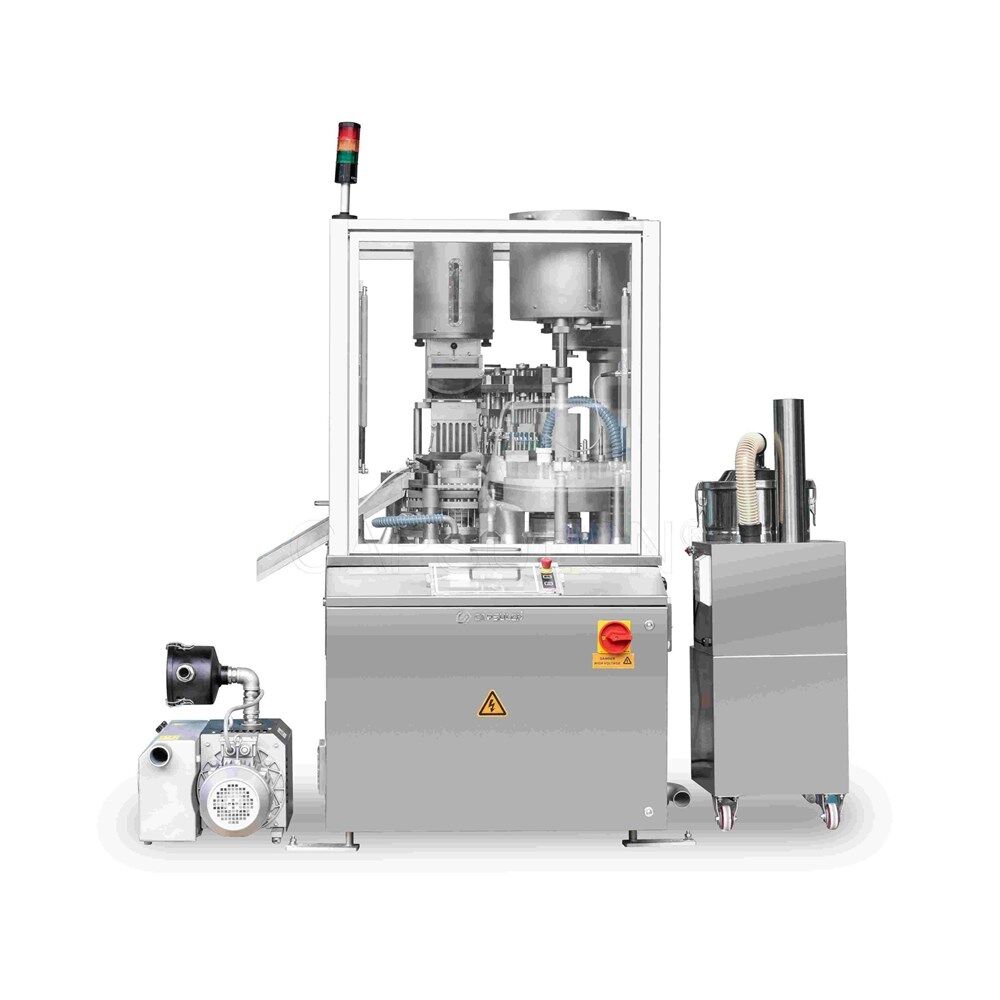
Fully Automatic Dosator Capsule Filling Machine CZ-40

Our Team
As an expert in the pharmaceutical and pharmaceutical packaging industry, iPharMachine has provided solutions for hundreds of pharmaceutical and health product manufacturers for 17 years. By visiting customers, we get good reviews from our customers.
- info@ipharmachine.com
- English Español Deutsche
